photo session tips

Simple Tips To Level Up Your Family & Travel Photos | Part 2 by Shana Berenzweig


This post is Part Two of a Two-Part Series. Read Part One here.


I don’t know about y’all but I can’t believe it’s already the middle of July! Hopefully, y’all have been enjoying the long summer days and making memories with your loved ones.

And now I’m back to help y’all beautifully capture those moments.

In case you missed it, in my previous post I gave y’all 10 easy composition tips and now I’m sharing 7 of my simple, go-to, general photography tips to level up your travel and family photos. Try 'em at home, on your next trip, or wherever the next adventure takes y'all.

1. KEEP IT SIMPLE.

First, let’s talk gear. There’s a popular saying in photography that the best camera is the one who have with you. And that couldn’t be more true when it comes to vacation and the everyday moments. Capturing the memories are more important than your gear, so keep it simple and something easily accessible. For most people, this is going to be your cell phone camera, which are really pretty good nowadays.

2. BE PREPARED.

Whatever your camera using - whether a camera phone, a point and shoot, or big ol’ pro DSLR like me — make sure it is handy and ready to go with charged batteries and formatted memory cards.

With an iPhone (not sure about other models), you can add a camera shortcut or widget to your lock screen so you don’t even have to unlock it. This makes it really easy to access the camera. And if you don’t have it handy and ready, how are you going to capture those shots?

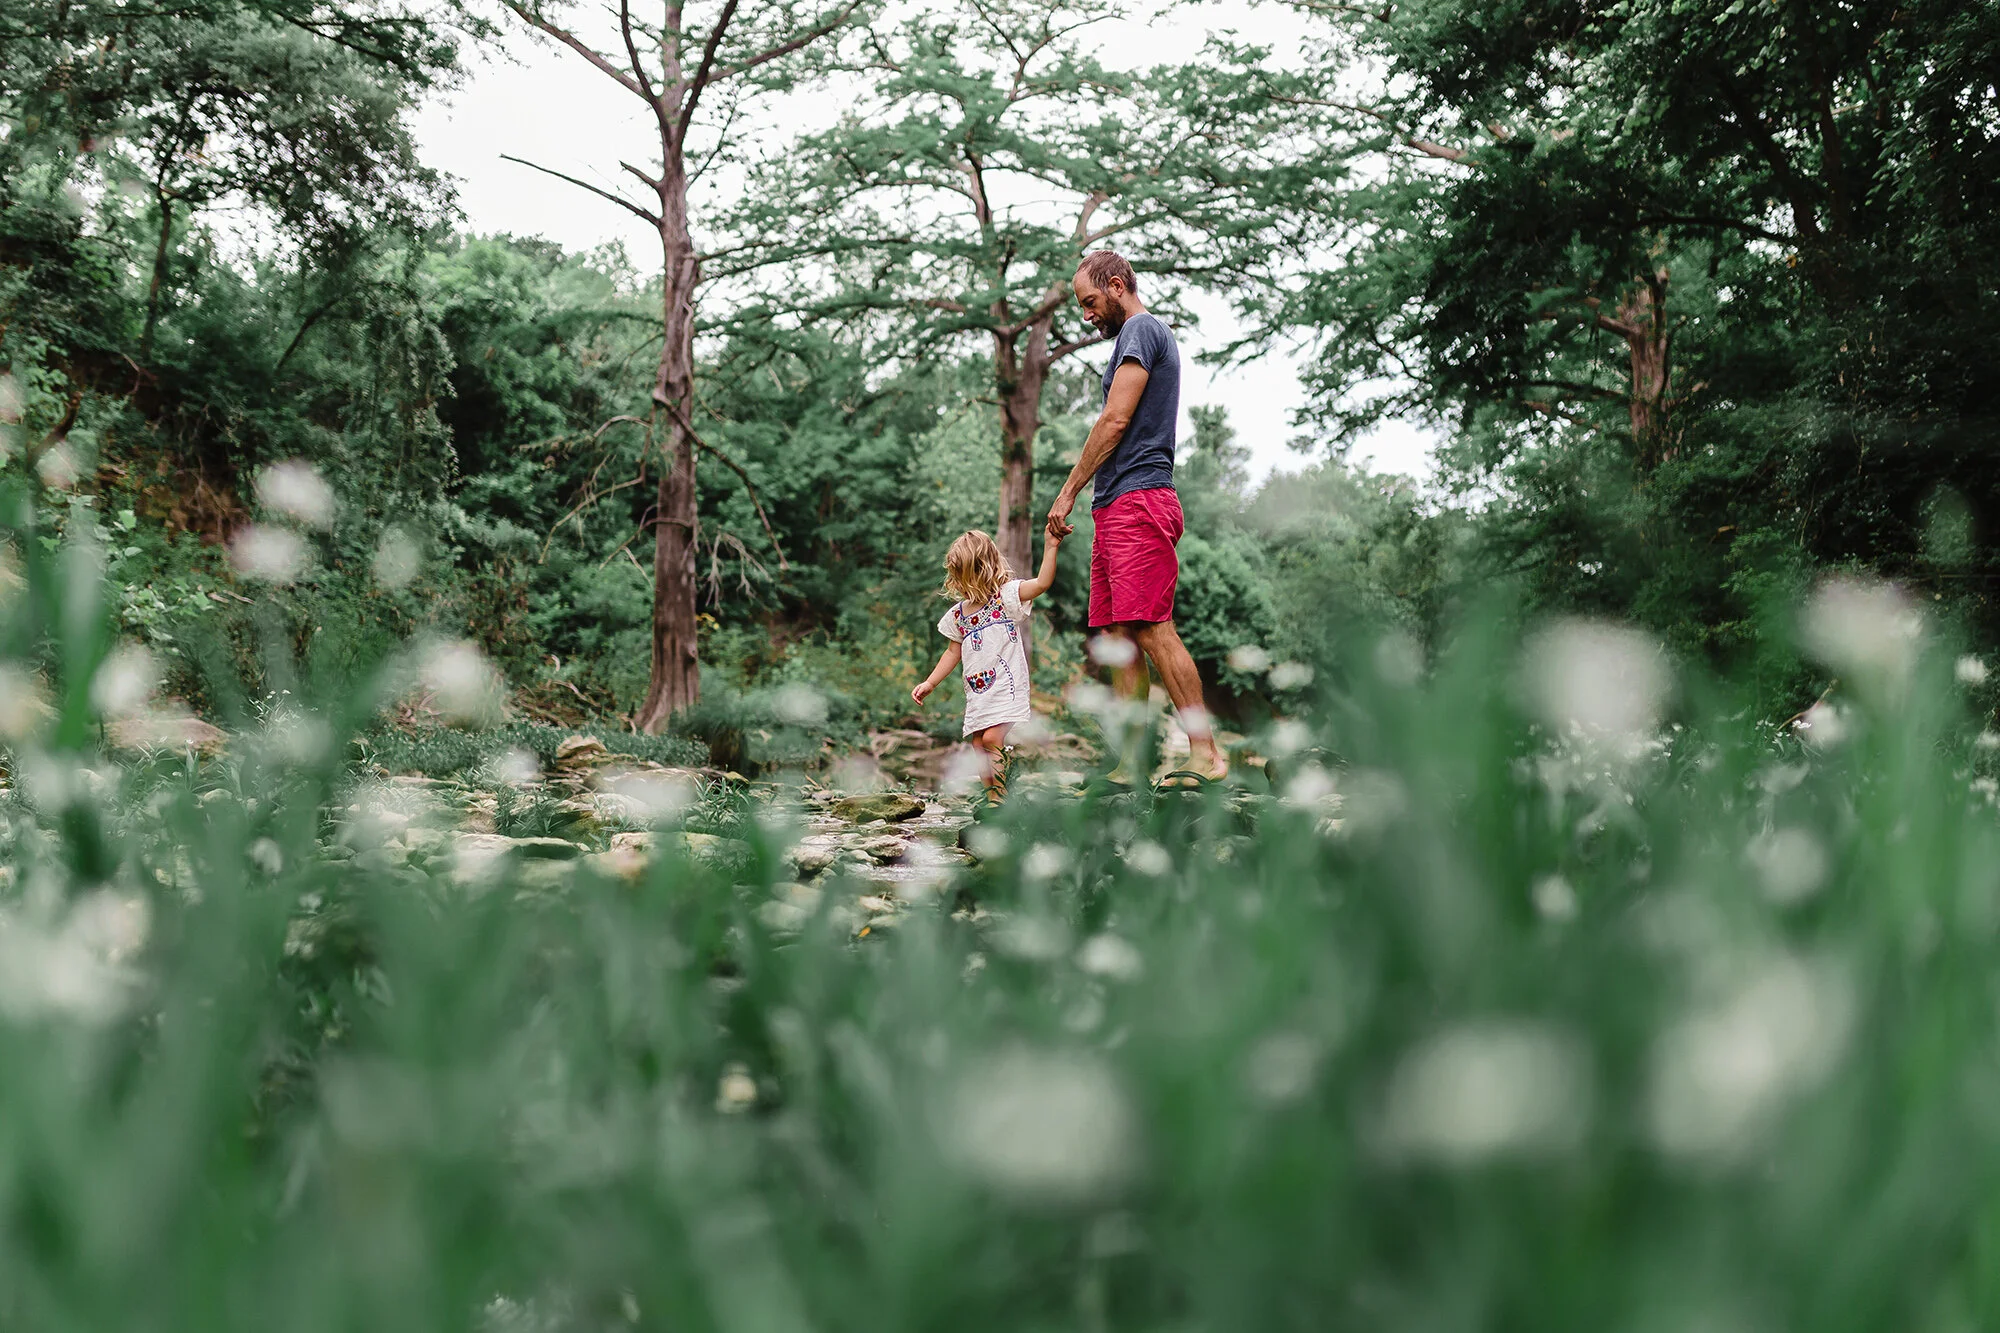
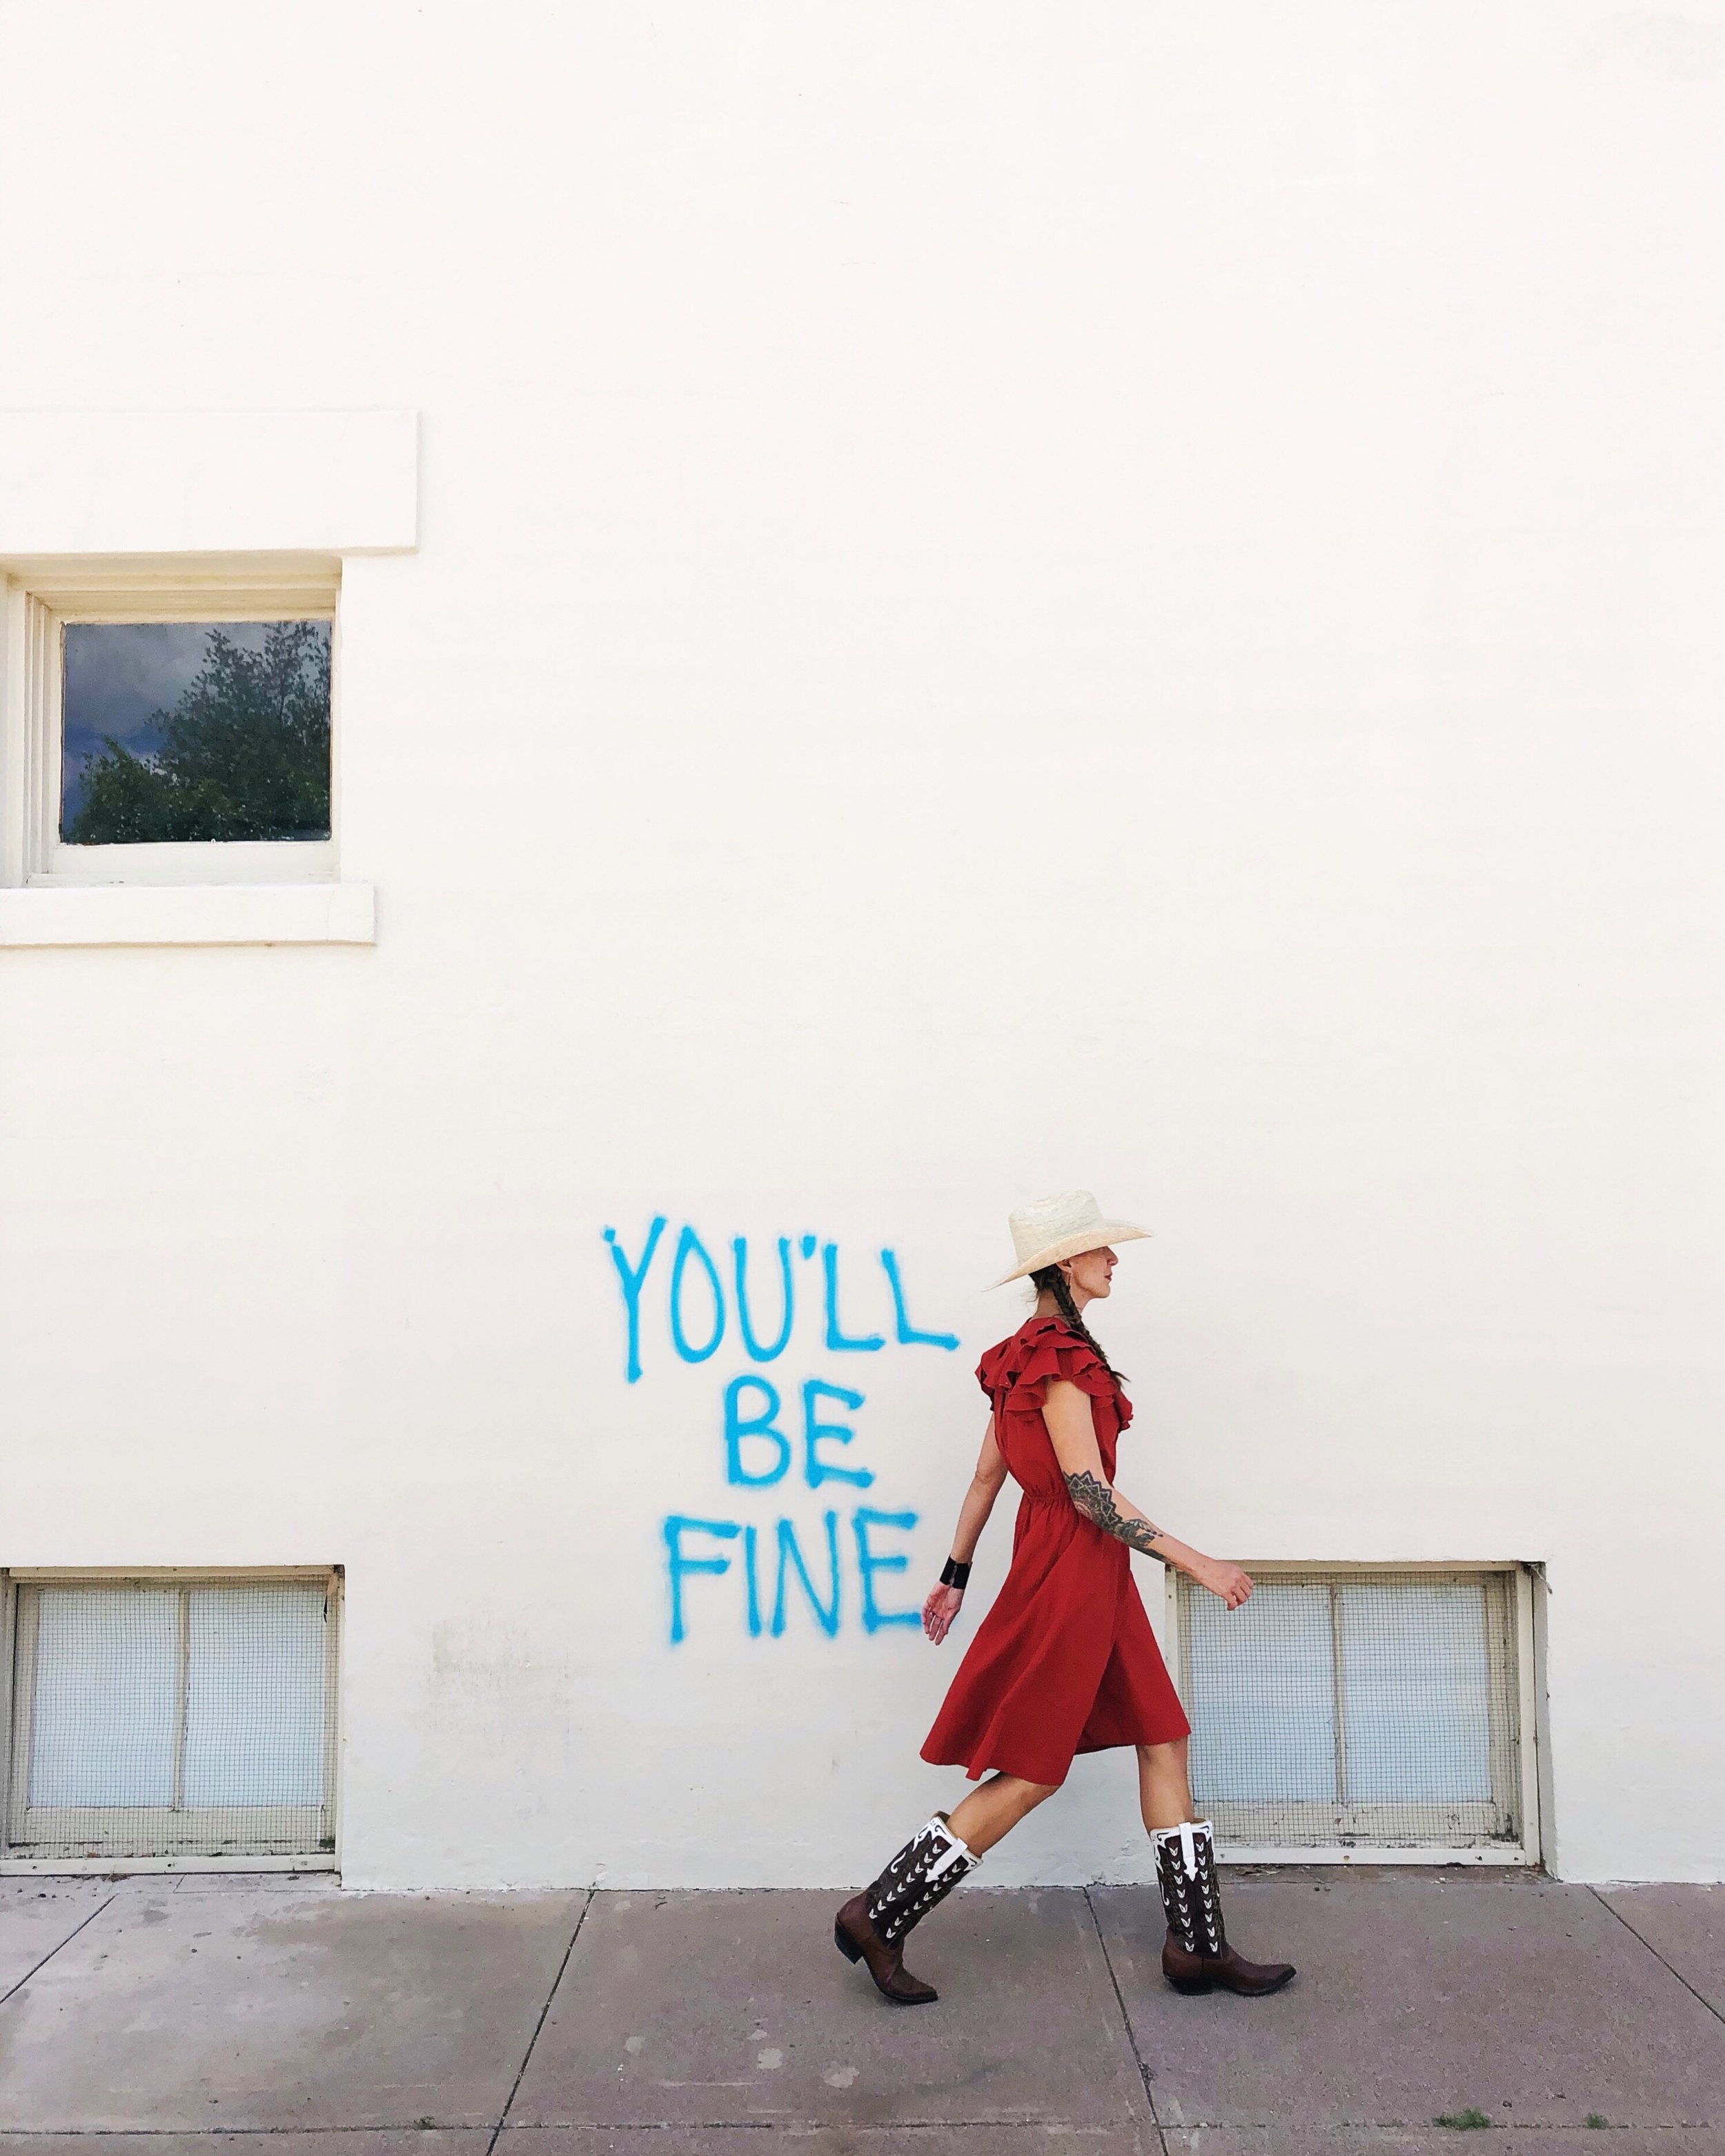
3. SWITCH UP YOUR PERSPECTIVE.

Have young kids or pets? Get down to their level and capture the action from there. Try laying down on the ground to see what the world looks like from their perspective. Your subjects will probably appreciate the change as well.

Even if you’re not photographing kids or pets, changing up your position and getting down low can also give you a beautiful foreground in your landscape images and maybe even provide a surface for reflections or simply a new interesting perspective to your images.

After you’ve gone low, try switching things up again and get up high for some images or use a bird’s eye perspective. The thing to remember here is to change things up and try shooting from a different position than you usually do.
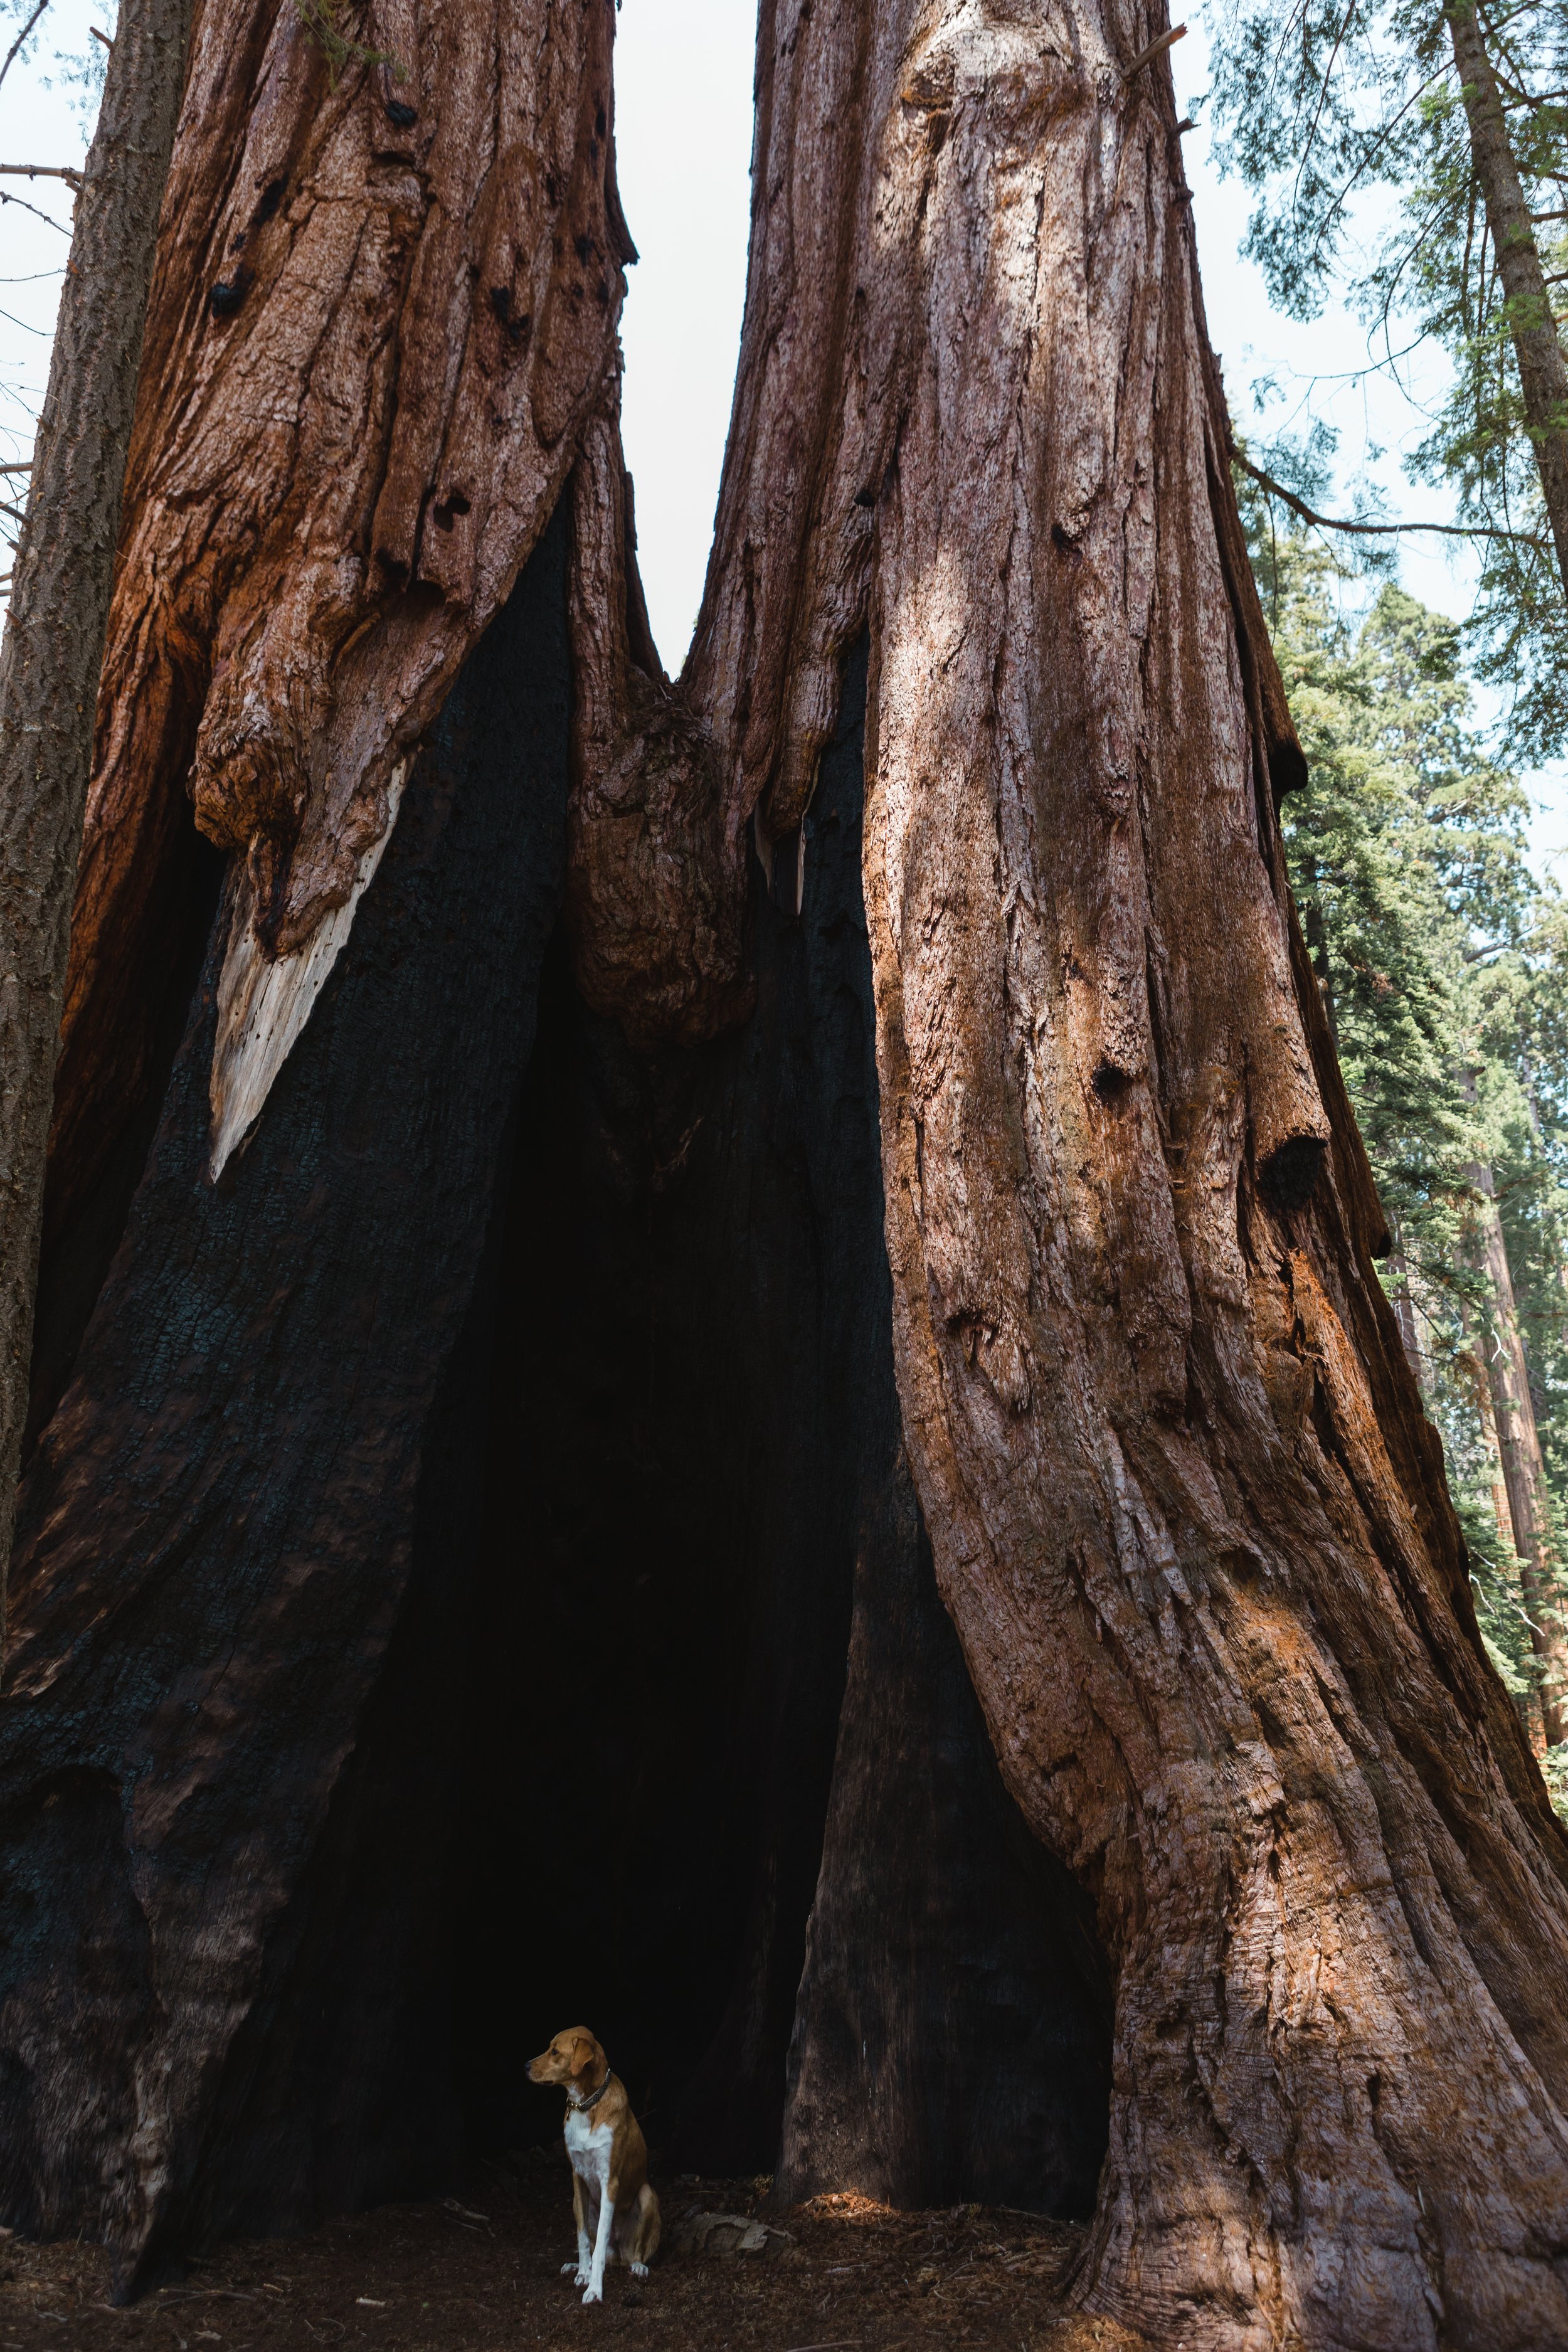
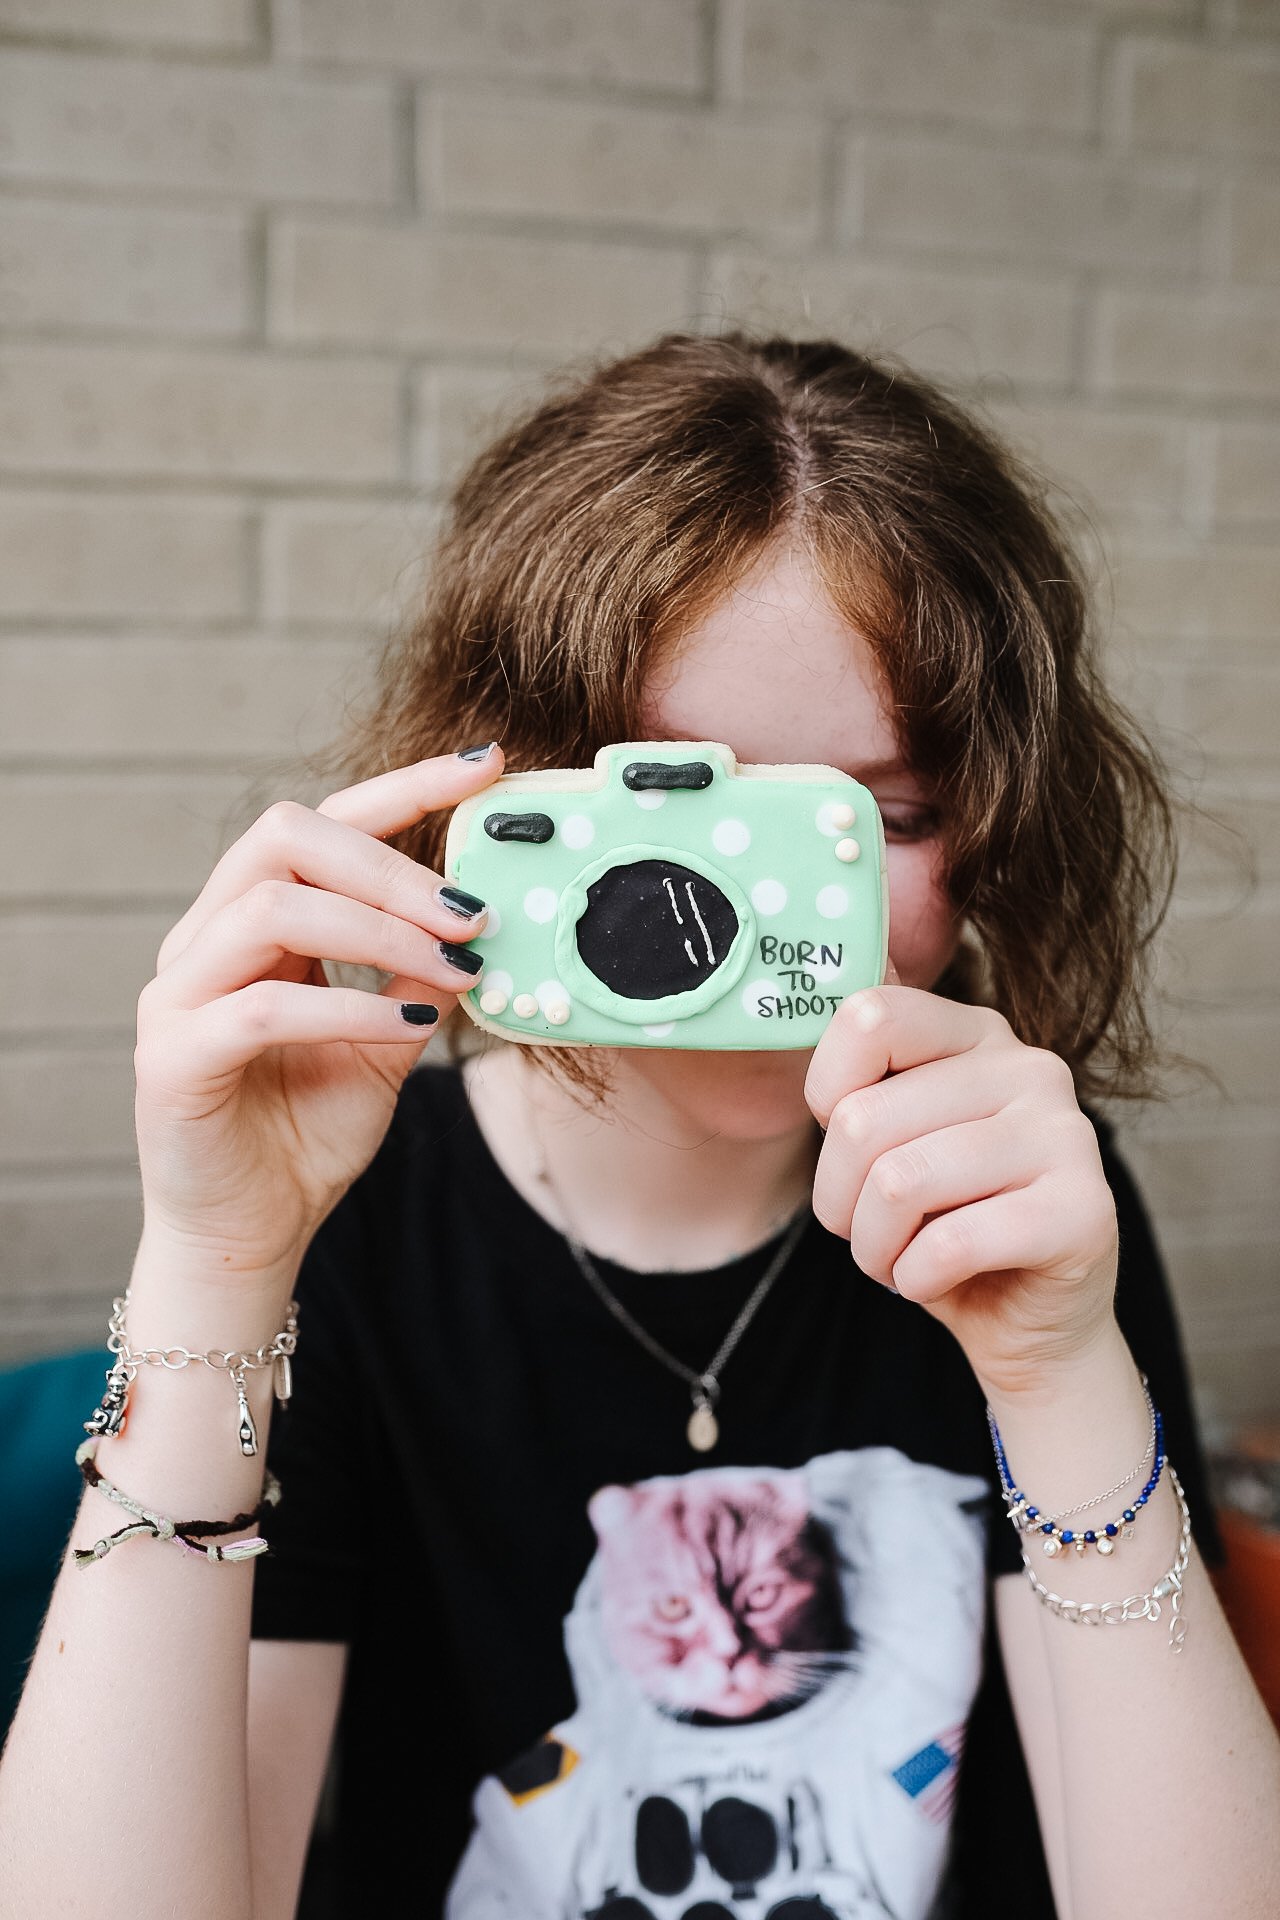
4. MOVE YOUR FEET.

Like switching up your perspective, move beyond standard portraits or travel landscapes and shake things up with both wide and detail images. After you grab the “traditional” image/portrait that you’re happy with, take several steps back, look at your surroundings, and see what changes. Sometimes the environment can better tell the story and you can also use it to show relative size.

After you’ve gone wide, move in closer to create a more intimate portrait that keeps the focus on your subject. You can also get creative and photograph any details that you love or capture your eye. Capturing those details will bring you right back to the moment and feelings when you look at the images later.
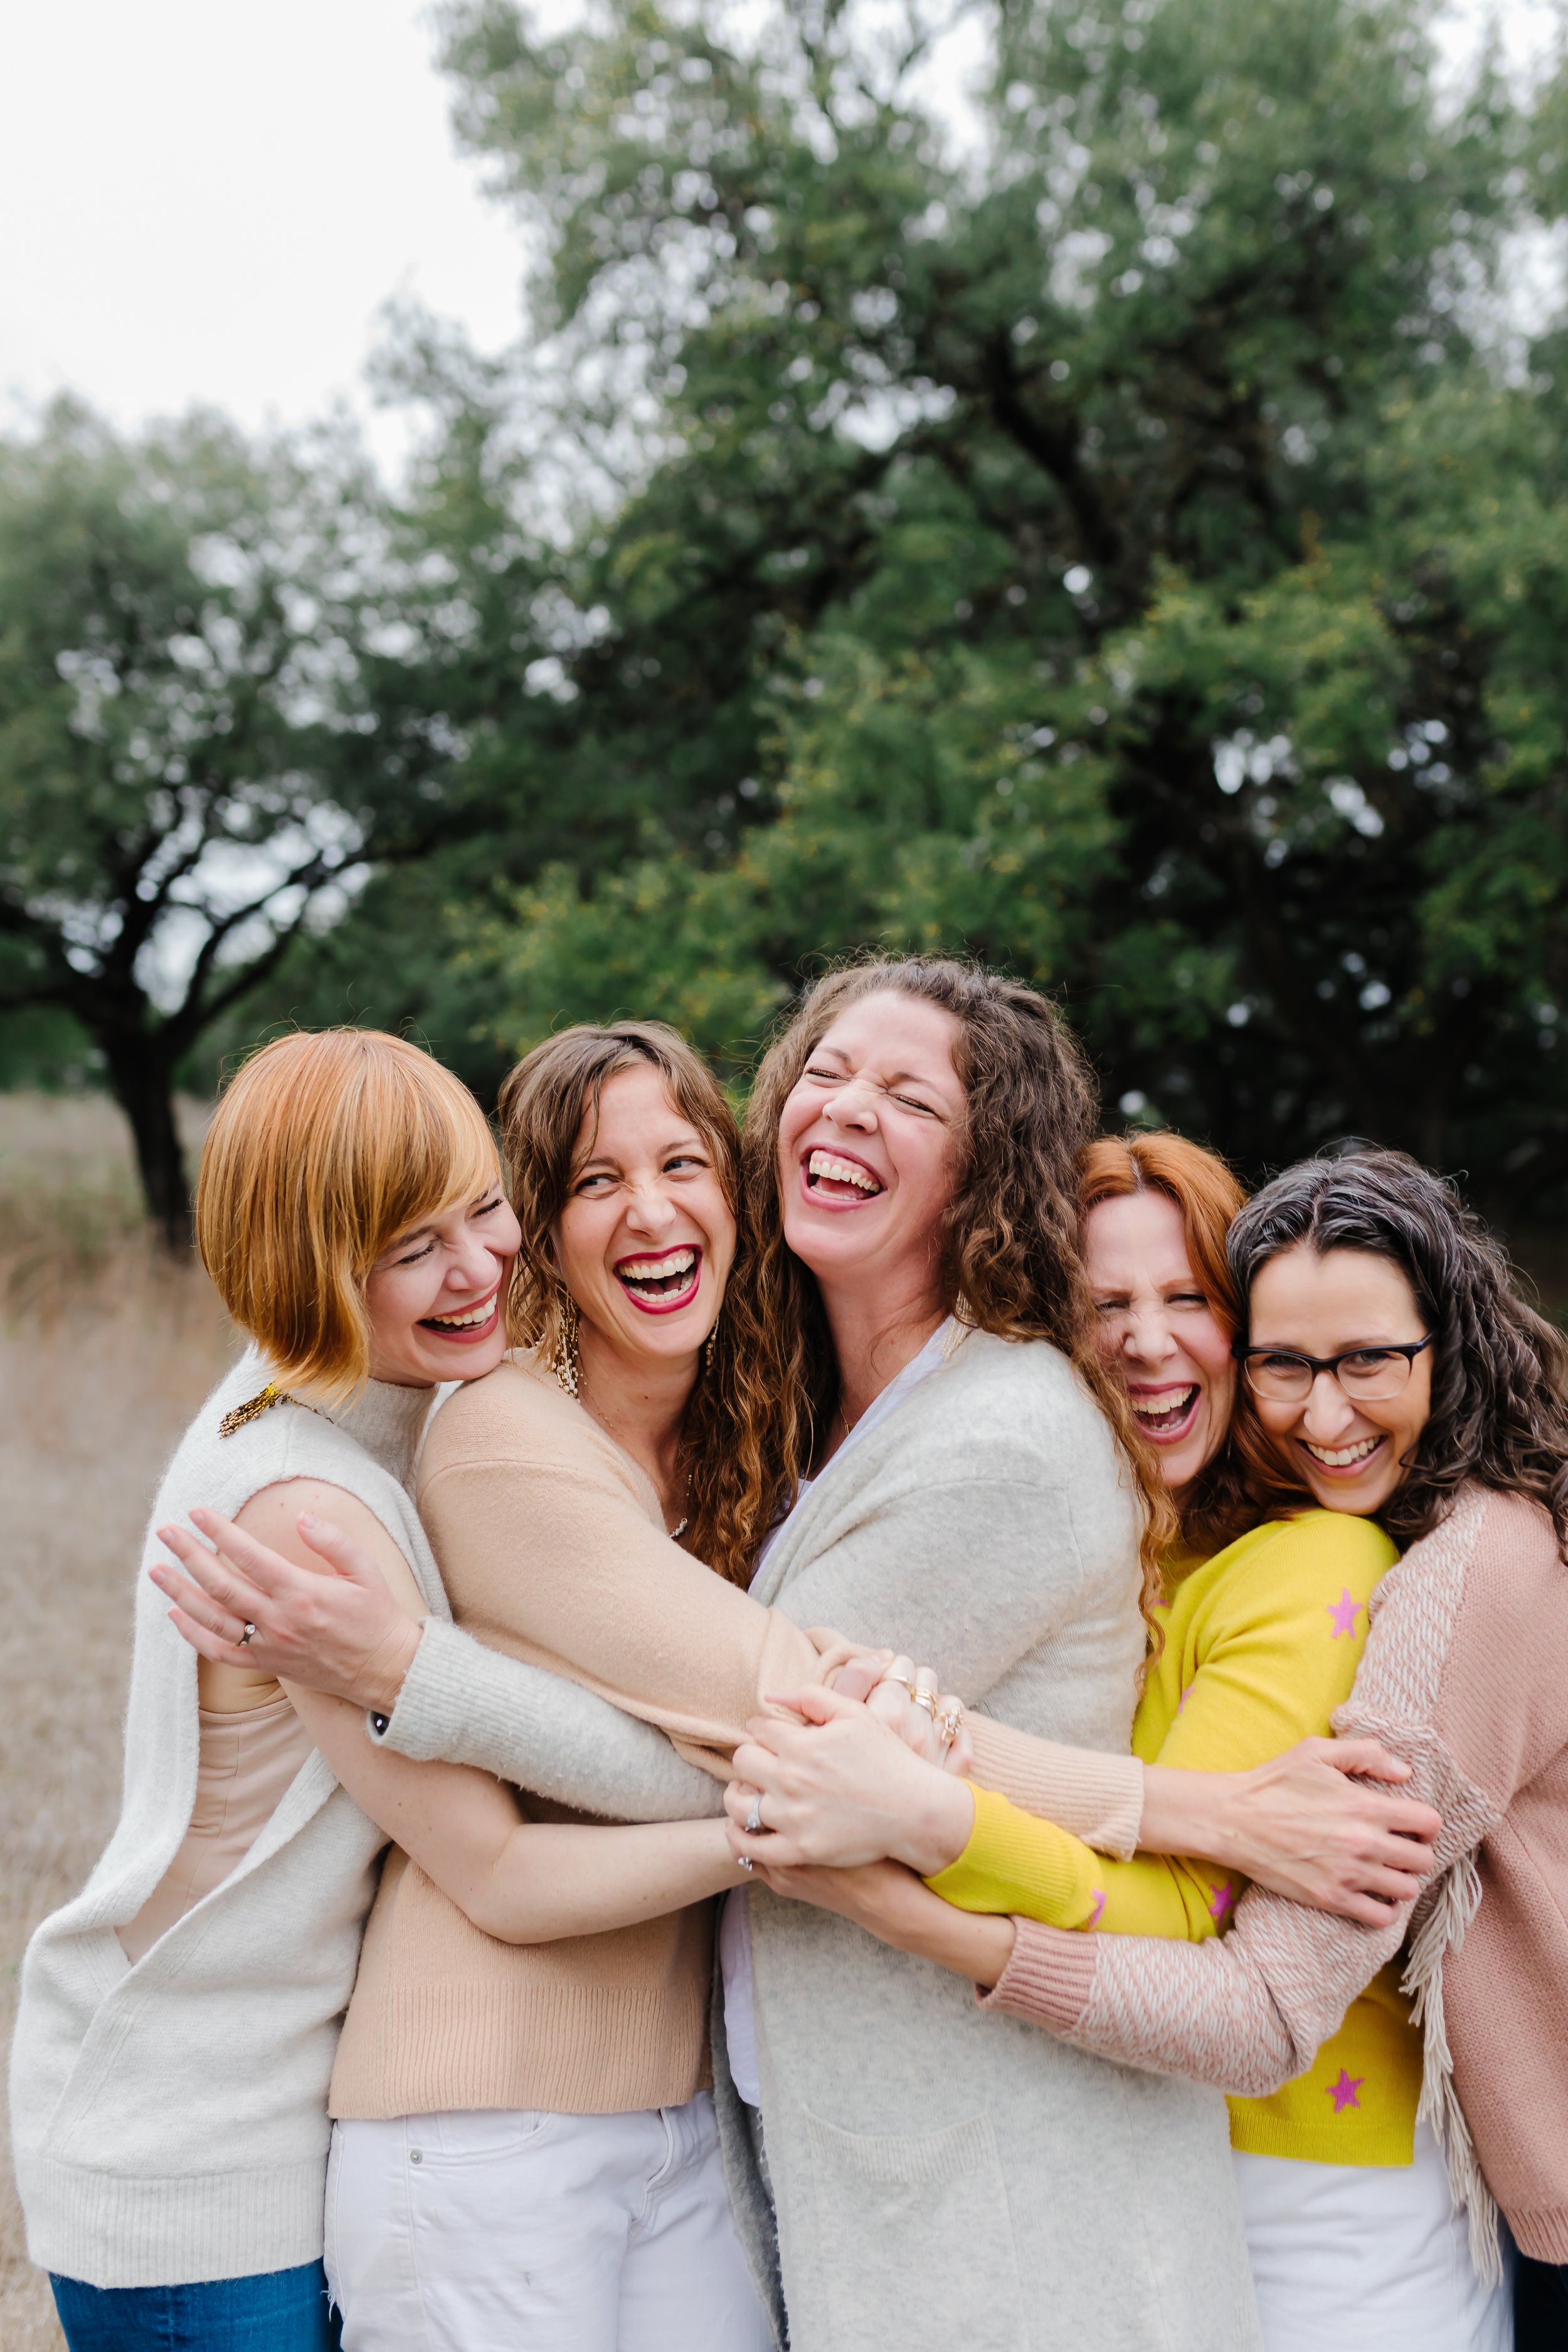
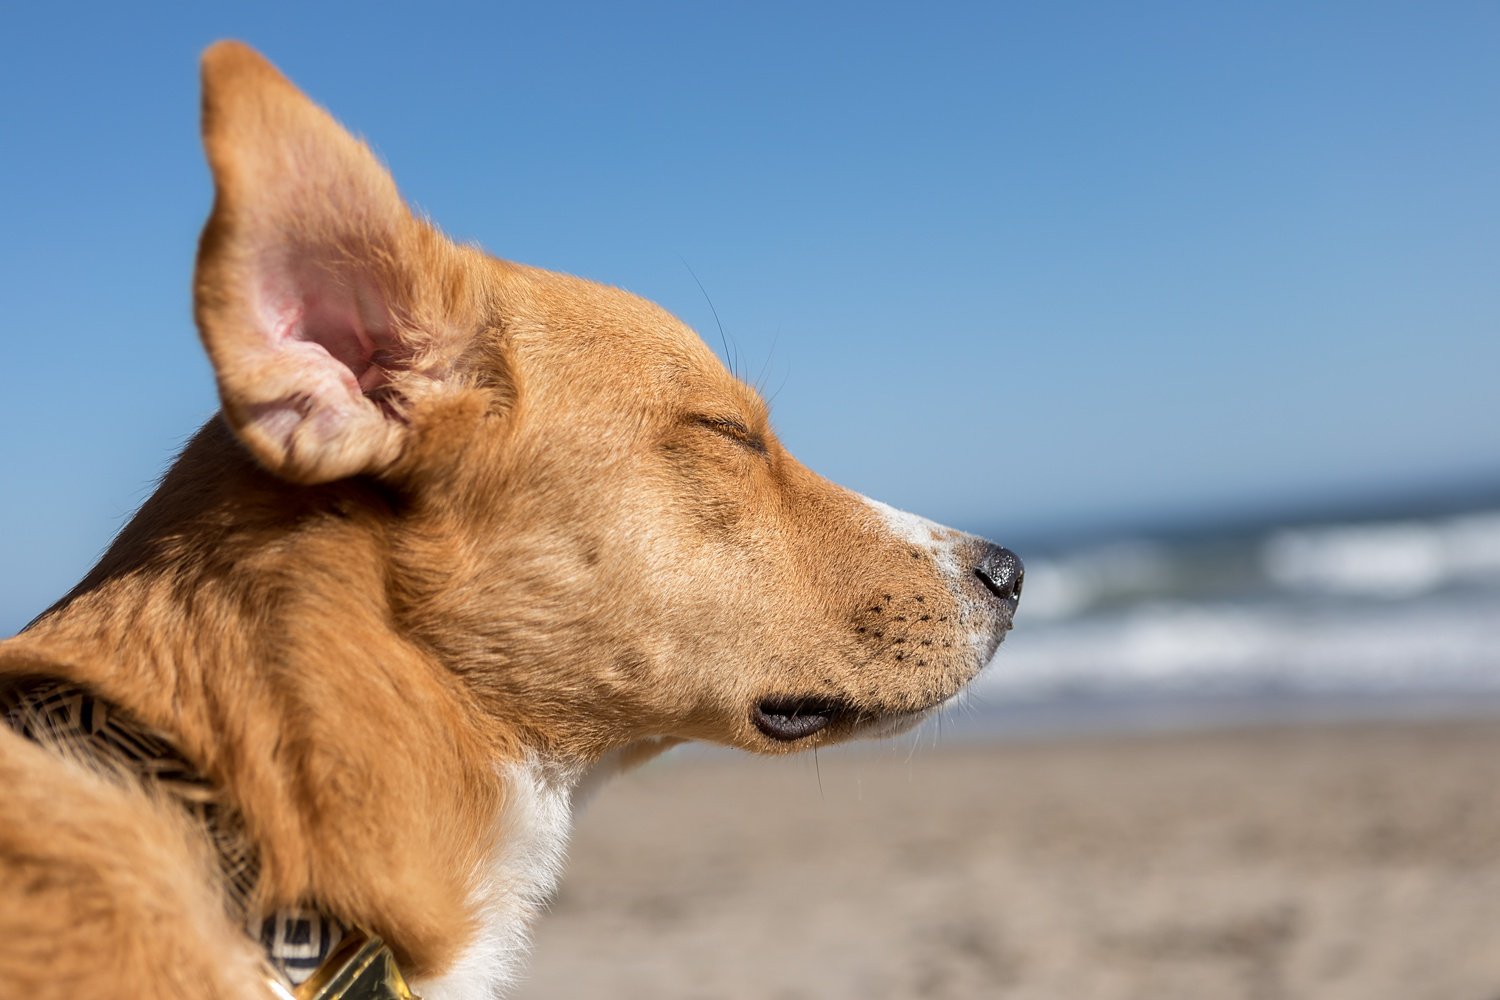
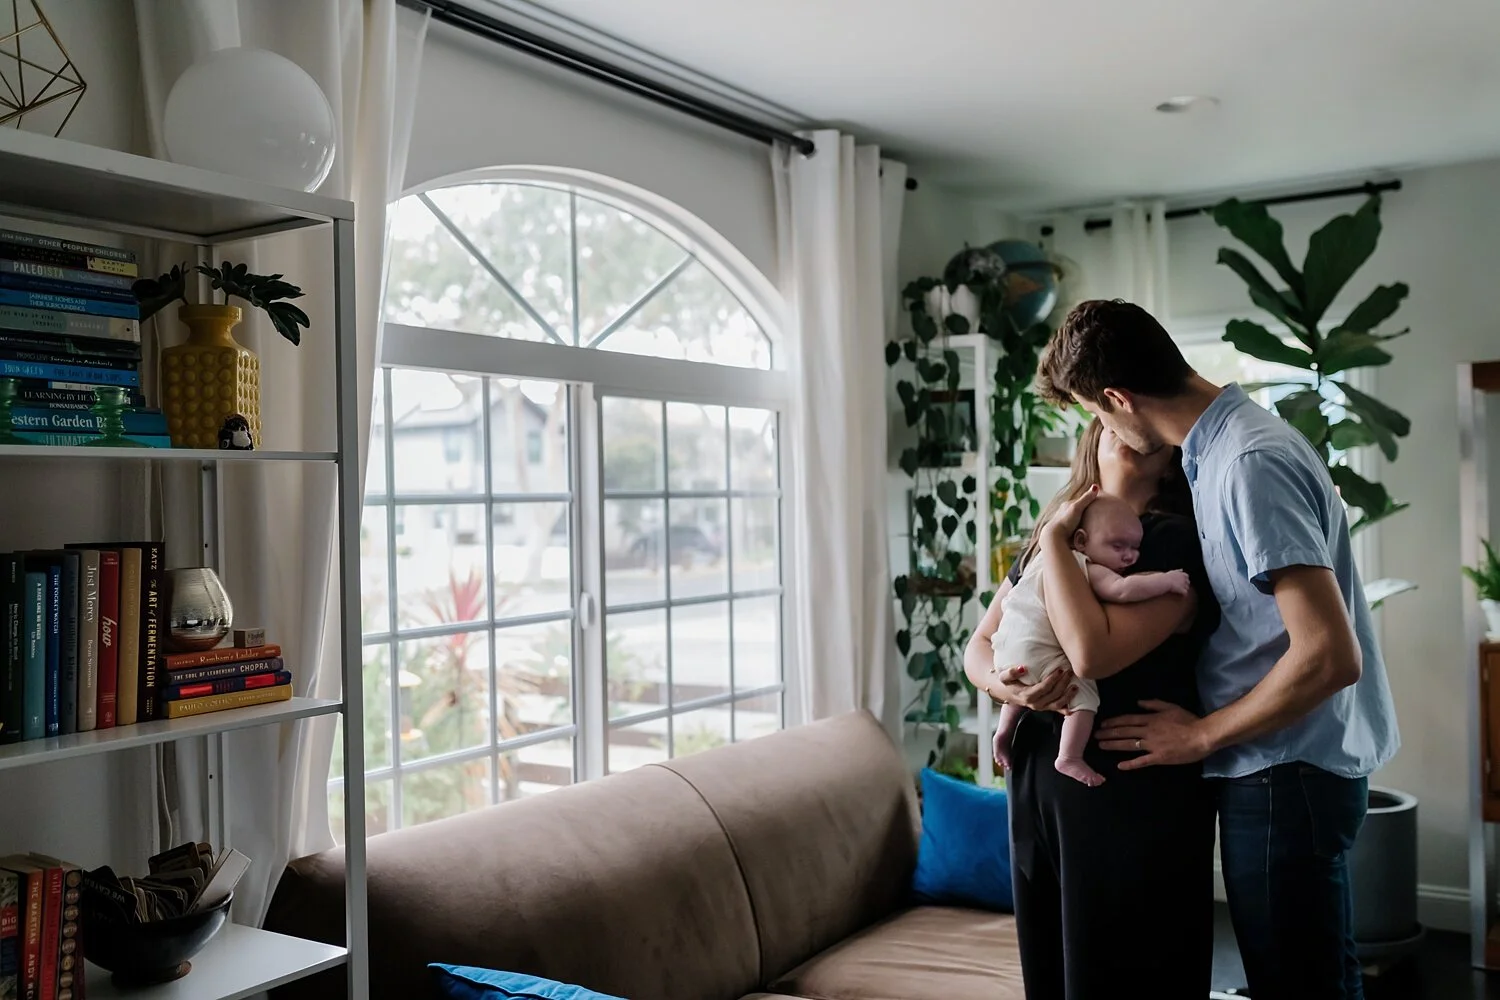
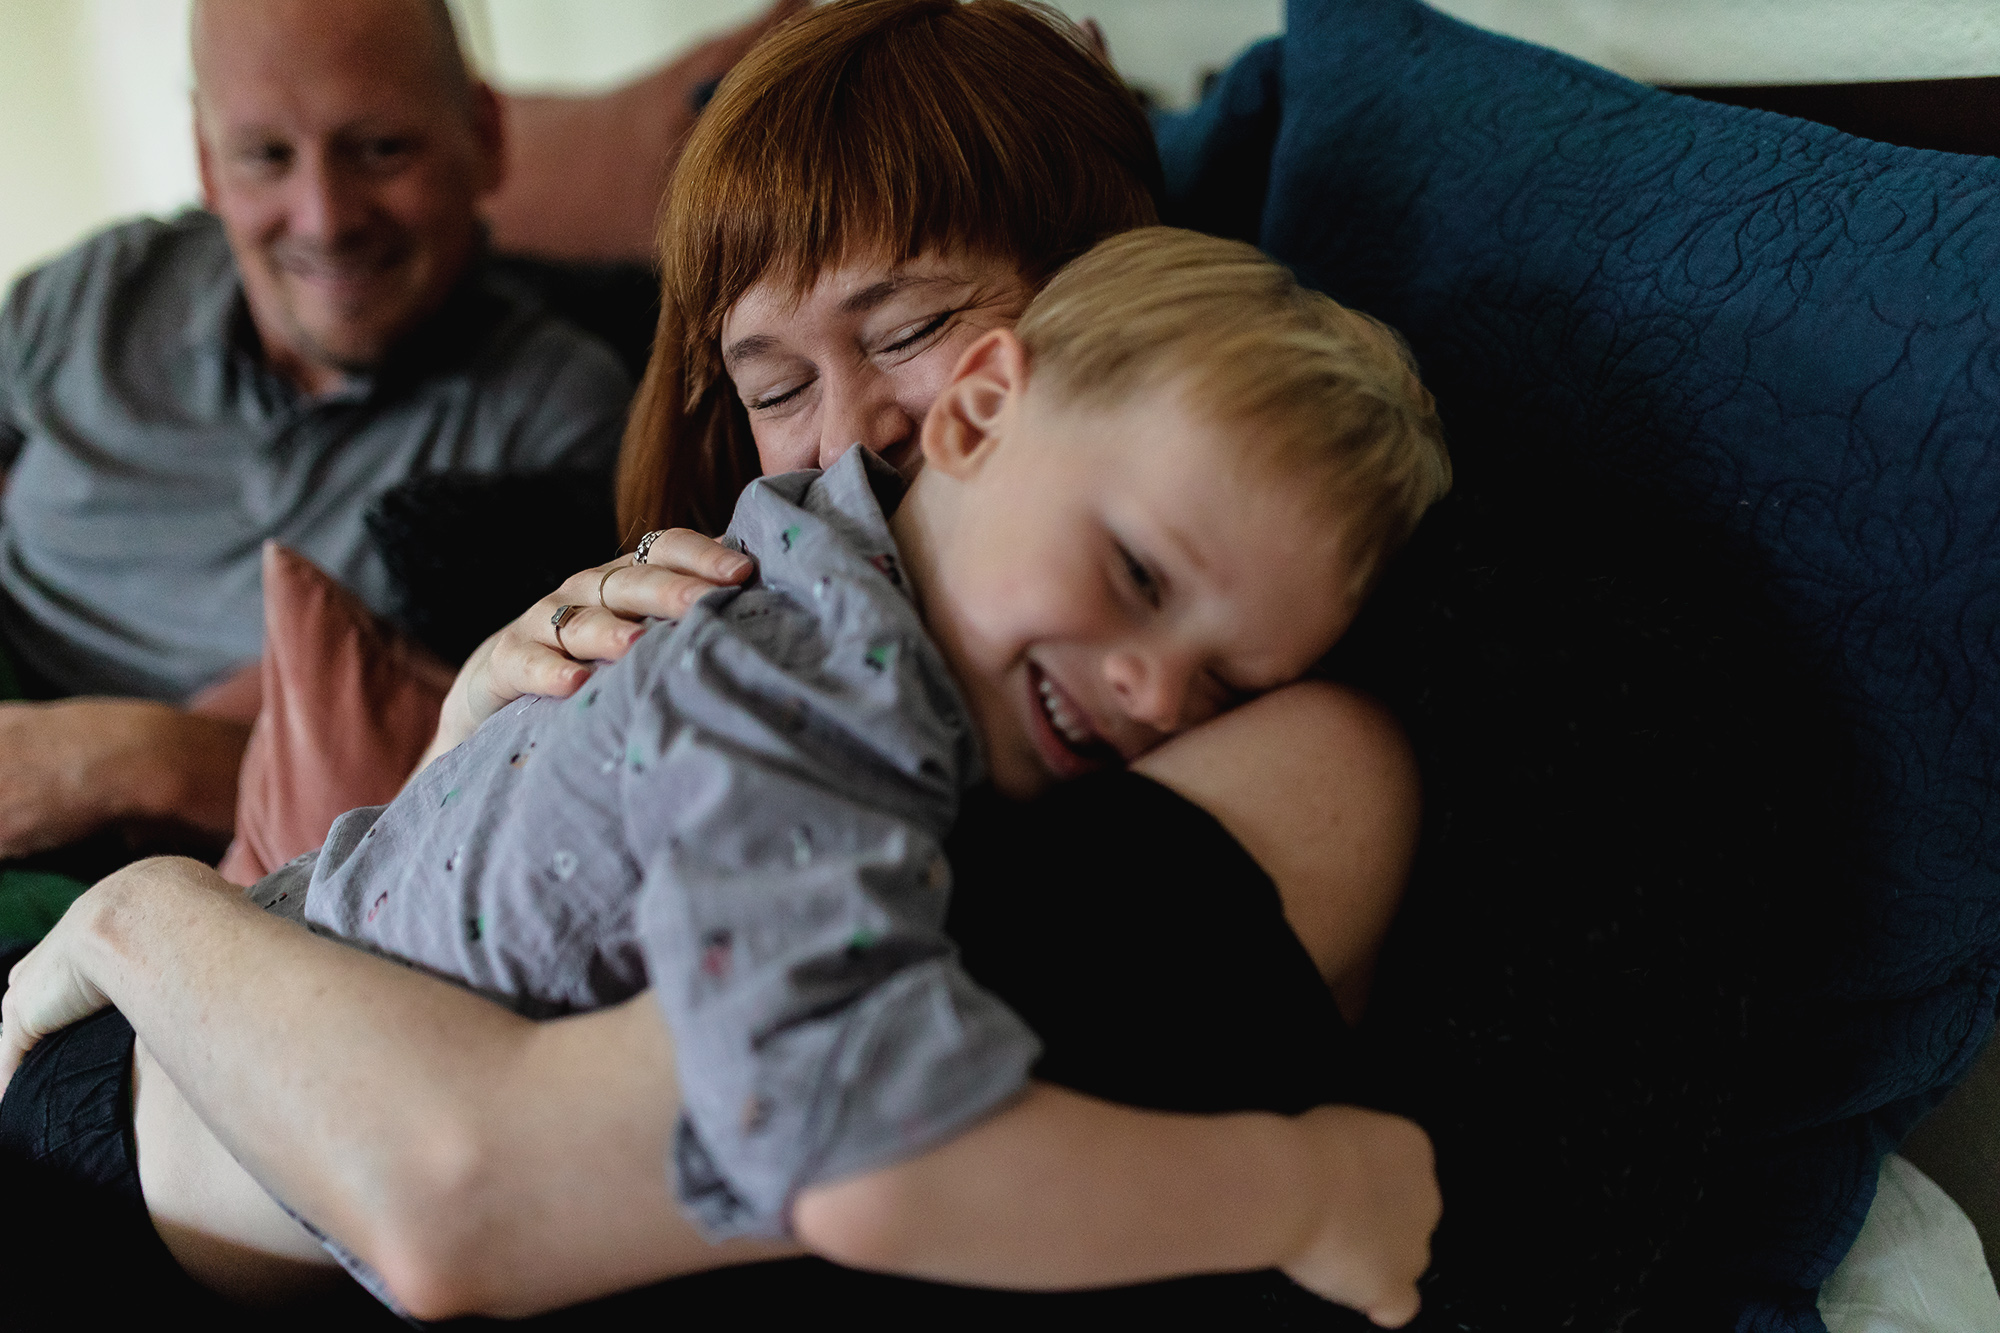
5. LET THEM BE.

This might be the simplest, yet the hardest one for some people to do — or actually let go of — but just let your people be themselves. How ever — perfect or imperfect — they are in that moment.

Focus on the connection not perfection.

Welcome the real-life moments, alongside the posed ones, and together these will be the images that will matter most a few years down the line.

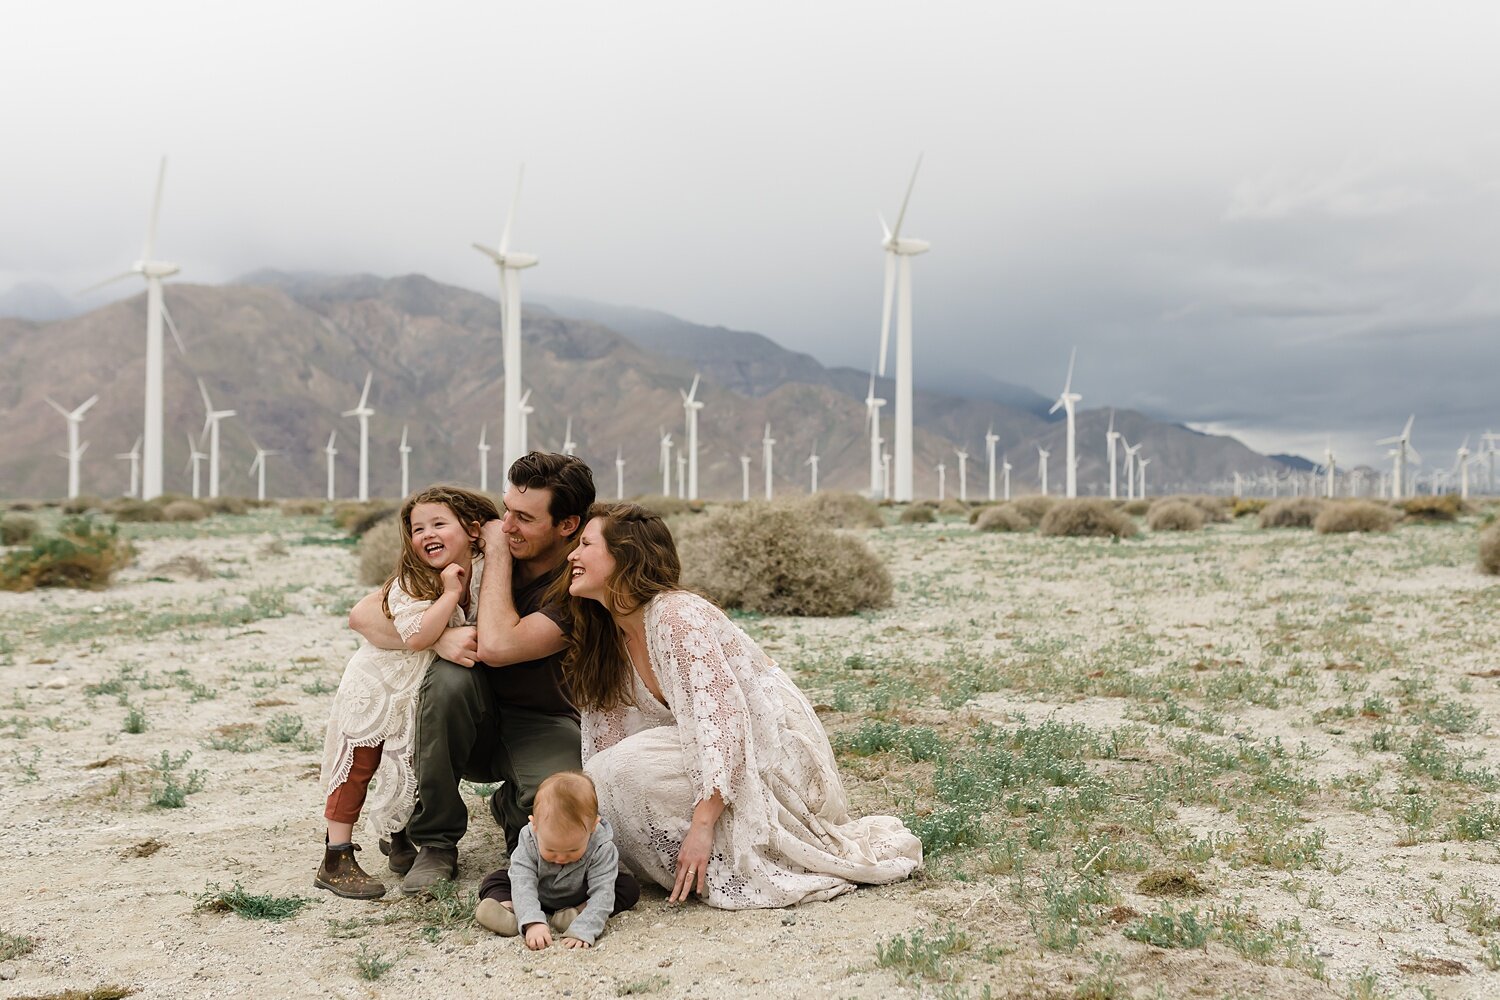
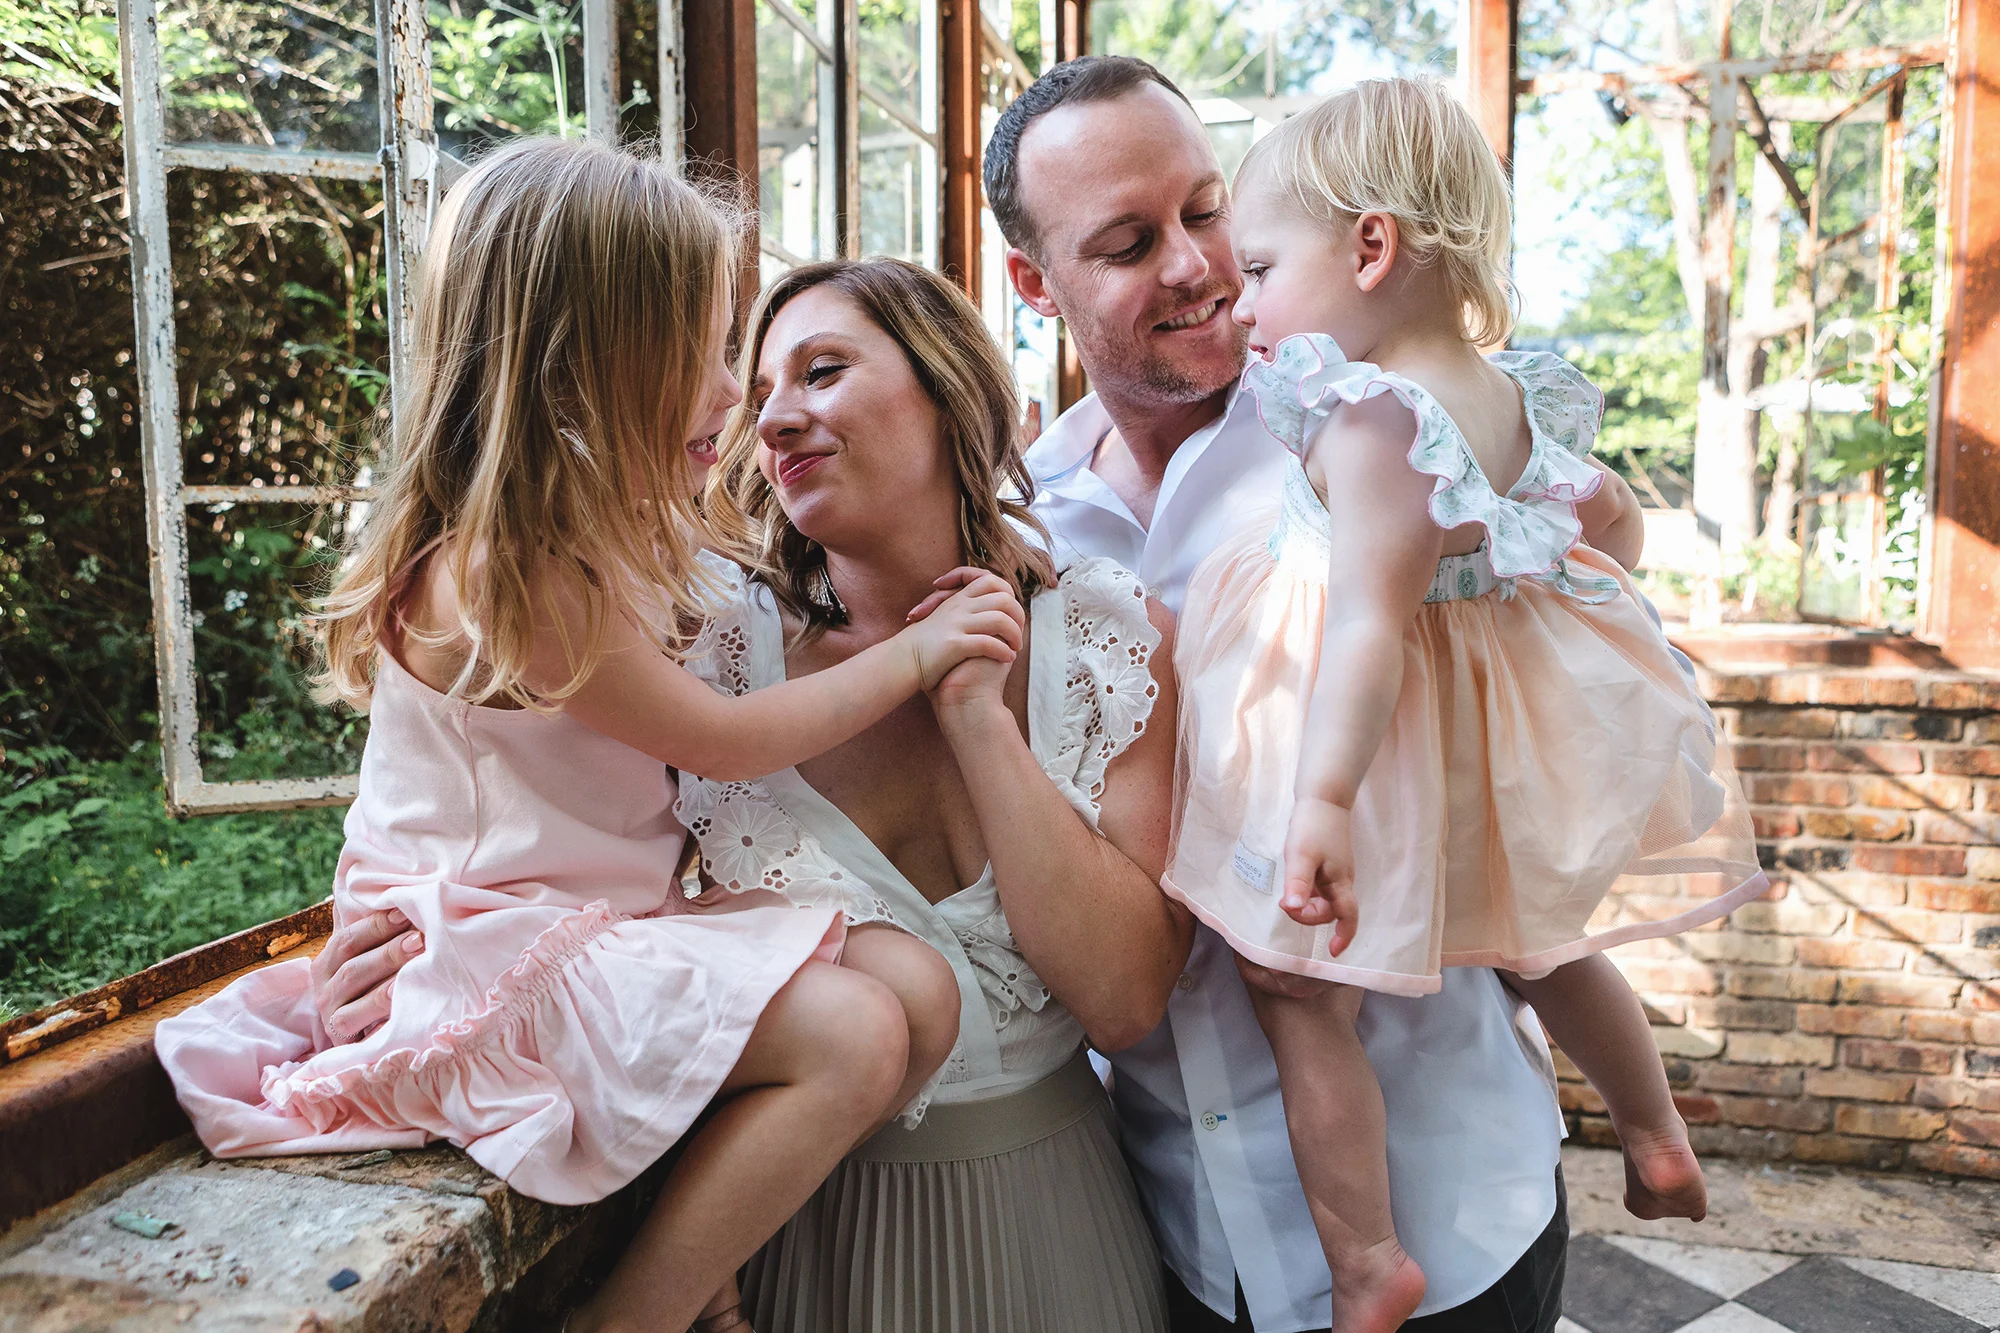
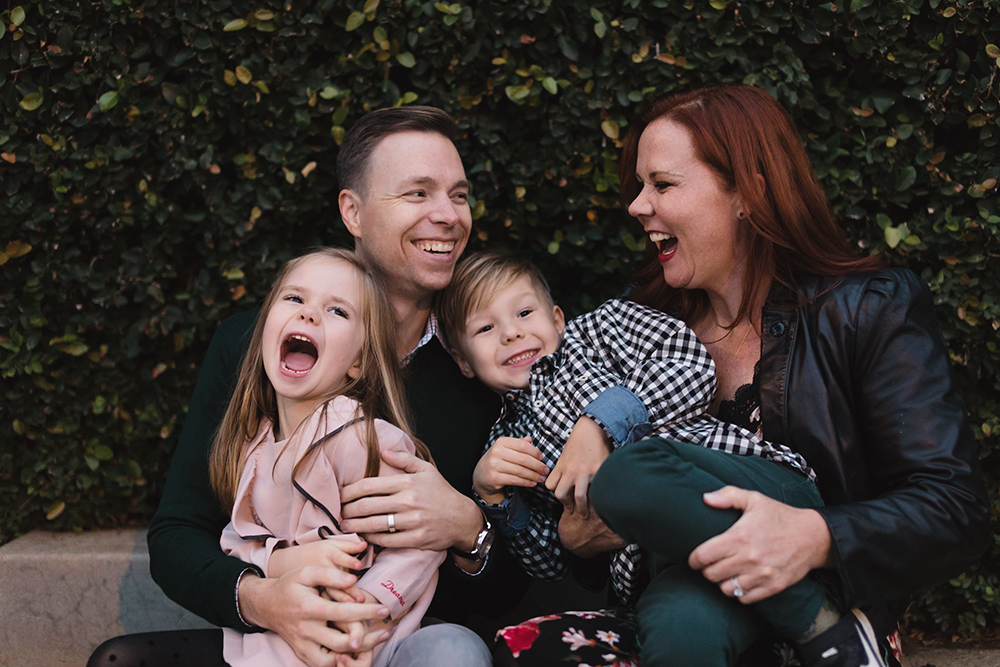
6. SAVE THE CHEESE AND JUST KEEP IT MOVING.

Trying to capture a portrait of that someone special? Nothing makes a portrait stale faster than keeping your subject frozen in place. Sure they can look at the camera and smile for a few frames, but after that keep it moving and keep people touching and connected.

I often ask my families to run, dance, twirl, tickle, turn the kids upside down or throw ‘em up in the air. I’ll encourage little ones to chase me, photographing them as I run backward. I even do what I can to get my big kids, teens, and adults moving somehow. Not only does this create more interesting images, it also relaxes them resulting in more authentic smiles.

7. DON’T FORGET TO GET IN THE FRAME.

If you’re the family historian and are not careful, you’ll end up not being in a single photo. Not a one.

And even if you think you don’t care now, I promise there will come a day when this changes, or perhaps even more importantly, your kids, family, and friends WILL CARE if you’re missing from these tangible memories.

So please do yourself and the rest of your family a favor and remember to pass the camera off every now and then so you’ll also be in the photo album. Ask your partner/spouse, your kids, a park ranger, a stranger, use a tripod, whatever you need to do to ensure your lovely face is in some photos.


Interested in your own photography session with me?

Get in touch today!


Simple Tips To Level Up Your Travel & Family Photos | Part 1 by Shana Berenzweig


This post is Part One of a Two-Part Series on leveling up your travel and family photos. Read Part Two here.


Now that it’s officially summer, summer, summertime, many of us will be heading out near and far for some much-needed vacation time. After the difficult past few years of covid, lockdowns, hours of trip planning and rescheduling, record-high gas prices, and more, everyone is really gonna want to capture these special memories we’ve worked so hard to create.

Don’t worry, I’ve got you. This will the first in a two-part series on leveling up your travel and family photos.

This first post will focus on using some simple composition tips to elevate your images and help you capture great travel and family photos not only this summer but all year. And good news, these tips apply to photos of people, places, and things, and you can use them with whatever kind of camera you have.

Composition is simply how the key elements or subjects of a photo are arranged and can be made up of many different elements, or only a few, and the goal is to be visually appealing and hold the viewer’s attention.

When you include a Focal Point or Point of Interest in your composition, this gives the viewer a place for their eyes to rest, and without it, your image may not hold their attention. It also gives your photo meaning and intention. So, when taking a photo, always ask yourself:

  • How can I draw attention to the main subject?

  • How can I lead the viewer’s eye into and around the image?

  • How can I eliminate distracting parts of the scene?

Sometimes finding a good focal point is easy and others times you may need to get creative and really look for an interesting subject. Once you’ve identified a point of interest, you can then build your composition around that focal point to draw attention to it. 

Now, with these questions in mind, let’s take a look at 10 important elements and techniques of composition to help improve our photos.

1. RULE OF THIRDS

The Rule of Thirds is all about where you put the main elements or focal points in a scene. Using a common compositional technique that divides the frame into an equal, three-by-three grid with two horizontal lines and two vertical lines that intersect at four points. The rule, which really is just a guideline, suggests that the most powerful and aesthetically pleasing areas of the image are the four points where the lines intersect, and that our eyes are naturally drawn to these areas first.

Many digital cameras and phone cameras have a feature that displays two horizontal and two vertical lines to help with composition.

2. BORDER PATROL

This one is about as simple as they get: before pressing the shutter, make sure to look around the borders of your frame, and your main subject, especially if it’s a person, and make sure there are no unwanted objects invading from the edges.

This means any tree branches, light poles, signs, bright colors or light, or other unsightly objects floating around. These invaders become unwanted distractions, and with them being so close to the edge of your photo, they inevitably pull the eye away from what it's meant to be focusing on. Similarly, check the overall background of your image and reduce clutter that may distract the viewer from the main point of interest.

3. RULE OF ODDS

For whatever reason, using an odd number of subjects can also make the image more interesting and aesthetically pleasing to people. There are many times we can use the Rule of Odds to make our images better, especially with objects. By having one or three elements is better than two. It might not seem like such a big change, but I bet that now I’ve put it in your head you will start to notice it everywhere! And how much more pleasing to the eye it is.

4. LEADING LINES

Using leading lines in your composition is a great way of drawing the eye into the image, and when used correctly, one of the most powerful ways to create an image with a really strong visual impact. Roads, paths, bridges, and rivers are commonly used as leading lines.

5. FILL THE FRAME

If the main subject of your photo doesn’t stand out clearly enough against its surroundings, it will lack oomph. One simple way to avoid that is to fill the frame with your subject. This means getting closer so all of the surrounding background is eliminated, making your photos more impactful and intimate. Cutting out unnecessary background detail ensures the subject gets the full attention of the viewer. It also captures more detail and can create some really unique and abstract images.

6. COLOR

Color is another easy way to give your photos more oomph. You can choose to include one or several bold and striking colors to make your subjects stand out. Or you can go for pastel shades for light and airy visuals, or even shades of one color for soothing simplicity. Complementary colors are also great for creating a stunning and well-balanced image; try using a color wheel for help. You may also want to play with color to create interesting images or you can use certain shades to evoke various emotions, such as happiness with bright yellows or pinks and mystery with darker hues.

7. LOOK FOR PATTERNS, TEXTURES, AND SYMMETRY

The human eye has a natural tendency to pick up on patterns, repetition, symmetry, and showcasing geometric shapes or interesting textures can be a very alluring way to pull the viewer in.

8. FRAMING

Framing is just like it sound. Using objects in the foreground, or the part of the image closest to you, you’ll create a “frame” around the main subject and drawing the eye towards it. As well as creating more visual interest, framing adds meaning to a photo as it puts the main subject in context with its surroundings.

9. MINIMALISM + NEGATIVE SPACE

Many times the simplest photos turn out to be my favorite. Minimalism in your images can help to give the viewer a singular point of focus on your subject. Often this means a simple and uncluttered background, which is a great tactic to use in portraiture. Another way to achieve minimalism is through the use of Negative Space, which put simply, is the space around the object itself that helps define the positive space or main focus of the image.

10. BREAK THE RULES + HAVE FUN

Photography is an art, not a science. No matter what I said above, there are no strict rules about what you can and cannot do in photography, instead just guidelines and tips. While they often prove useful in many situations, don’t let them restrict your creativity. If they don’t work in your image, ignore them, experiment, and have fun. But to break the rules you must learn them first. So, study the techniques covered above, practice them until they are second nature, then start breaking the rules and see what happens!


Interested in your own photography session with me?

Get in touch today!


To Bribe Or Not To Bribe by Shana Berenzweig


This post is part of an ongoing series focused on getting you and your family ready for your photo session. Read other posts right here and check back for more soon.


Ahhh, the never-ending dilemma of parents everywhere — ‘to bribe or not to bribe’ your kids before family photos?

As I’ve discussed before in a slightly dramatic titled blog post, family photo day can be a very stressful time and for many parents, their worst nightmare is the kids not cooperating and it’s tempting to fall back on bribery.

This can definitely be a tricky situation and I’m here to help.

I used to be all about bribery and whatever parents needed to do to get their kids excited about the session and be ‘cooperative’ (which I hate to use, but haven’t found a better word yet).

But after getting more family sessions under my belt, I started noticing something happening, especially as the kids get older. Y’all, the magic of the bribe was wearing off and starting to backfire as kids were quickly losing interest in being ‘cooperative’ at all.

Some kids were becoming so focused on the bribe at the end of the session that they just want to get it done and would do the bare minimum in order to get the promised reward. Next thing you know, the “Are we done yet?” whines start coming fast and furious, inevitably someone in the family gets frustrated, and things quickly go downhill from there.

Another problem I saw was that parents weren’t really prepared for actually following through on their bribery threats and/or what the unintended consequences for the session would be if they did. This is something you and your partner should discuss and be prepared for prior to the session.

Now, ultimately, you know your people best, but I’m here to gently encourage y’all to reconsider ‘the bribe factor’ or at least not make it the first thing y’all resort to. When you book a session with me, I’ll send a detailed guide for getting ready for your session, but I thought I’d share some of my tips here, too.

It’s been my experience that one of the most helpful pieces of advice I can give parents is to be mindful of the way y’all talk about your upcoming session with your kids. There are generally two (totally opposite, I know, sorry!) ways to approach an upcoming session that will depend on the kids’ personalities and ages.

One approach is to hype up the session, talk about it in a positive way, and stress how much fun it will be. If this is your first time or the kids are younger, explain how things will go — who I am and how I’ll ask y’all for lots of hugs, kisses, tickles, love, laughter, dancing, etc, and yes, some smiles — you know, emphasis the good times ahead, not perfect pictures.

The last thing we want is for kids to pick up on any stress or anxiety. Because I promise you, kids totally pick on that energy. I’ve seen it first-hand many times.

The other approach is not to talk about it too much or make a big deal about it, maybe don’t even tell ‘em until shortly before the session. Sometimes when kids sense a big deal thing coming up, they don’t respond with their best selves. And the same thing can go for the adults too, I know I’m guilty at times of the anticipation of something causing all sorts of stress and anxiety.

Also, my longtime clients know I usually have my own special rewards for kids when the session is done, so if things do start to go sideways, we can always fall back on that or bust out your bribe.

B922A214-505C-44D0-9FAA-BA0E7FC17A47.jpeg

Okay, so you know bribery is the best way to go with your crew, now what?

First of all, no judgment from me.

The trickiest part of going the bribery route, however, is that every kiddo is different when it comes to the bribe. For instance, I can clearly recall an at-home newborn session very early on in my photography career and the parents really, really wanted the kids to pose in a certain way and no matter what we tried to use as a bribe, the older sibling would.not.do.it and by the end, the entire family was exhausted by all the effort and we never got the shot.

With many more years of experience under my belt, I now know how to nip that situation in the bud. It didn’t take long to see the attempted bribery was not helping at all and was having a negative effect on the poor kid who did not under any circumstance want to kiss their new sibling.

Since kids have different personalities and like different things, the hard part is not only finding out what works best for your flock but also won’t backfire. Some kids are motivated by candy, others a trip to the playground or special dinner, and for older kids, cold hard cash.

If you decide to use a little bribery to get what you want, here are some other ideas beyond the obvious and popular choices of sweets or cash for older kids:

  • That awesome toy they’ve been drooling over.

  • A later bedtime.

  • Breakfast/Dinner at their favorite spot after the session.

  • Extra screen time on their favorite device.

  • A sleepover with a friend.

  • Extended playtime.

  • They don’t have to eat their vegetables that night at dinner.

  • They don’t have to do chores the next day.

  • Give them back a privilege that’s been taken away the last time they were in trouble.

These are just a starting point to brainstorm your own ideas, and if y’all have your own suggestions for either bribes or thoughts for not bribing your kiddos, I’d love to hear them and I bet other parents would too, so please leave ‘em in the comments.

When there is a limited amount of time for your session (like my Pop-Up Portrait Sessions, which I still have some spots left for if you haven’t booked your session yet), no matter how many times you’ve done family photos, it’s easy to start feeling anxious about being able to get all of the photos that you want.

That’s okay and totally natural.

It’s also okay and totally natural to see bribery as the answer.

I most definitely don’t want you to be stressed out or feel crunched for time because someone is suddenly shy, having a meltdown, or sticking their tongue out at me.

And that’s when — regardless of whether you’ve gone the bribery route or not — it is crucial to trust me as your photographer, allow me to take the wheel, and lead the way. Take a break and let me be the “parent” for a little while.

All you have to do is relax, love on your people, and have some fun. Let your kids be kids and embrace the chaos and natural beauty of your family story.

3 Things to Help You Get Over Your Fear of Being Photographed by Shana Berenzweig


This post is part of an ongoing series focused on getting you and your family ready for a photo session. Read other installments on the Do’s and Don’ts of What to Wear and 5 Stressing Relieving Tips To Not Have A Breakdown During Your Session, and check back for more soon.


It’s almost second nature for humans to be self-critical. We nitpick at our hair, our faces, our figure, our parenting, our relationships. You name it and we’re critical of it, and the sad truth is that we’re usually hardest on ourselves.

How is it that others can easily see the beauty in us, when we have such a hard time seeing it ourselves?

And while I don’t have the answer to that eternal question, I do know that, unfortunately, this mindset often means that we put off taking professional photos until we’ve lost those “last few pounds,” or until our hair grows out, or we find the perfect location and outfit, or until, until, until.

The problem with waiting until everything is “perfect” is that, well, you might be waiting for a while to finally get those pictures taken. There’s always an excuse not to if you have that mindset.

© Shana.Berenzweig.Photographer.612.jpg

I might be a little biased, but indefinitely postponing portraits means you’re missing out on meaningful photographs that you and your family will ultimately treasure for many years to come. Or, it expand this idea further, professional photos might just be that extra oomph that sets your LinkedIn profile or small business website or social media apart from the competition.

So, to help you feel more comfortable during your next photo shoot — whenever it may be and whether it’s a family session, new headshots, or something else entirely — I’ve outlined a few things to keep in mind. Now, I know this won’t eliminate all your fears, but hopefully help ease some of your anxiety.

Bottom line. Don’t let your desire for perfection hold you back from this experience. Perfect doesn’t exist. Instead, let’s make some perfectly-imperfect magic together.

I’ve Got the TOOLS + Skills to Make You Look Amazing.

Did you know that those selfies we all take with cameras phones not only distort the way your face actually looks, but that it’s even lead to a rise in cosmetic surgery and treatments? Even non-professional DSLRs are known for distorting facial proportions or using on-camera flashes that lead to unflattering shadows.

As a professional, I not only have the best equipment to make you look amazing, but also know my way around the best lenses, light, angles, and all that good stuff. Like Vidal Sassoon used to say, “If you don’t look good, I don’t look good.”

© ShanaBerenzweig.Photographer2020_0299.jpg

I’ll Tell You Exactly What to Do.

I also have the experience and knowledge (going on 10+ yrs now) on how best to pose and direct you.

A very common thing I hear before a session is something to the effect of, “I don’t know how to stand. I’m always so awkward. I hate every photo of myself!” I say these things, too, y’all are not alone.

Trust me when I say that you won’t have to think about how to pose, what to do with your hands, how to tilt your head, or any of that during our session. I will walk you through it all, and you’ll look incredible.

YEARS FROM NOW, You’ll Be So Glad You Took ‘Em.

I touched on this already, but it’s such a huge point that I feel like it deserves to be repeated.

Years from now you will be so glad that you took these photos. You’ll look back on the day and think about how much fun you had and get nostalgic about what that period in your life was like. Your family and friends will treasure those images, too.

If you still feel like you don’t want your picture taken, do it for future you and those you love.

© ShanaBerenzweig.Photographer.2021_0110.jpg
© ShanaBerenzweig.Photographer2020_0365.jpg

How to Save Your Photos for the Future. by Shana Berenzweig

One of my long-time clients recently messaged me to say she was printing a bunch of her family’s past sessions (yay! print those photos!) but couldn’t find her photos from a session three or four years ago and did I still have them.

Y’all.

This happens every single year.

I’ve fortunately been able to help these clients out because I’ve invested in a long-term back-up system. But that wasn’t always the case. My own hard-drive failure, data loss, and (only partial) data recovery taught me an expensive lesson.

So I’ve FINALLY finished this post that’s been sitting in my draft folder since 2018. A lesson I hope y’all can avoid with these tips.

Print ‘em.

First, a friendly reminder to not let those digital images you’ve invested time and money into collect dust on your computer. Put ‘em on your wall or in an album or simply propped on your desk. Take advantage of your gallery print shop after you have a session with me; it’s full of high-quality, beautiful print products from professional labs.

Just create something tangible you can hold. You won’t regret it, I promise.

And if you have any really important photos, like from your wedding day, make sure they are stored properly. Here’s a great article from the National Archives that spells it all out, but a few highlights are:

  • Store items at a low temperature and a low relative humidity.

  • Use a storage box made of board or folder stock that is lignin-free and acid-free or buffered.

  • Reduce the risk of damage from water, insects, and rodents by not storing items in damp basements, garages, and hot attics, and keep the away from sources of leaks and floods, such as pipes, windows, or known roof leaks.

  • Store items on a shelf so they don’t get wet during a flood, and away from food and water which are attractive to insects and rodents.

  • When storing photographs and other important paper memories, avoid materials that can cause physical damage, will discolor over time, ooze from the edges, or will be difficult to remove in the future including adhesives and glues like rubber cement, hot glue, or synthetic white glue.

While printing your photos doesn’t mean they will last forever (nothing really does), various print products can last a whole helluva lot longer than on a computer hard drive, USB, or disc.

IMG_7111.jpeg

Back up to the cloud.

I used to give clients discs or thumb drives rather than digital downloads, but technology not only changes (who has a disc drive anymore?), it will also fail. It’s only a matter of time. So you can’t rely solely on those sorts of devices. You must do more.

Ideally, you should have 2-3 types of storage. Sure, one could be a USB drive, disc or hard-drive copy, but one of them should definitely be cloud storage. It’s part of my back-up system and has given me a lot of peace of mind.

There are several options out there, Dropbox, Google Drive, Amazon Cloud, but I use Backblaze, which among other things, is automatic, has unlimited storage, and unlimited file size, which for a photographer with a lot of big files, are huge features to have standard. Not to mention, it’s very affordable at about $60/yr. Check ‘em out and if you sign up with this link we both get a free month!

No matter who decide to go with, take some time to do a little research, know what their terms and conditions are, and how things are handled in case of failure.

Another great tip I’ve heard is to make two copies: one to work from on your computer, and another one stored in the cloud and don’t touch. This way no matter what happens, everything will still be there when you need it. 

Many image sharing and print sites, like Flickr or Artifact Uprising, allow you to store photos as well print and share them, but I’d suggest this as your ‘Plan C’ for your most precious photos. Besides less robust storage size, there are no guarantees start-ups and smaller companies will have the staying power of the big guys.

And at least once a year, don’t forget to make sure to review your back-up system, check and see if everything is running as it should, that the company is afloat, and that terms haven’t changed.

Like I said in the beginning, I’ve suffered the wrath of technology’s fickle nature, so don’t put this off any longer. Don’t end up sad, mad, and regretful like me. Enjoy the ease and peace of mind cloud storage can give you.

The Do’s and Don’ts of What to Wear by Shana Berenzweig


This post is part of an ongoing series focused on getting you and your family ready for a photo session. Read other installments on the 5 Stressing Relieving Tips To Not Have A Breakdown During Your Session, and 3 Things to Help You Get Over Your Fear of Being Photographed, and check back for more soon.


With family photo season upon us, I’ve been working on putting together some posts to help y’all get ready. Besides questions about how to get the family ready mentally for the session and whether you should bribe your kids (that post is coming next), the most frequent question I get is about what to wear.

I love helping clients through this part and usually send some tips before the shoot and help actually pick outfits if someone asks. I also have a Pinterest board full of inspiration and advice. But despite my best intentions, I’ve never put together a blog post. And while there are no hard and fast rules, there are some tried and true tips and tricks for looking your best.  

First things first. Just be yourselves.  Wear something that makes y’all happy and feel your best.  Not to mention, something that looks like you and your family. For everything from makeup to hair to clothing, keep it somewhat natural and looking like yourselves. There’s no need to be someone y’all are not. Just polish things up a bit, you know?

I also tell clients not to feel the need or pressure to go buy anything (unless, of course, they want an excuse to go shopping).  This can often lead you down a stressful road and why add more stress to your life. I also usually suggest that whoever is the most style-conscious person in the family picks their outfit first, then plan the kiddos and the rest of the family around them.

Remember, this is just advice, won’t apply to everyone, and some rules are meant to be broken, but there are some general do’s I’ve learned over the years.

Do keep it simple. Stay with a color palette of 3-5 complementary colors and mix in neutrals like denim, khaki, white, or gray for a nice balance for each look. Personally, I think neutral color palettes with a pop of color (like yellow) photographs especially well. I’ve noticed there are also some colors to think twice about, such as large amounts of true red, bright greens and blues, and neon colors.  The key word here is large. In small amounts, you’re all good.

Do mix things up. Everyone should look slightly different and not matchy-matchy or all wearing the same thing.  

Do add some accessories, layers and patterns.  Small patterns of polka dots, plaid, florals, and stripes can photograph beautifully, just don’t over do it.

Do add some movement. This is especially good tip for the ladies. Something that will move with you and the breeze photographs really well.

Do put it all out there. Lay it all out together and see how everything looks.  Then take a few pics and text a trusted and stylish friend or me/your photographer for a second opinion.

© ShanaBerenzweigPhotographer.022.jpg

Now, of course, for a few don’ts.

Don’t advertise for anyone but yourselves. No big logos, text, tv/movie characters, etc, all of which can be distracting and take focus away from your lovely faces and shining personalities.

Don’t just wing it. Maybe you’re one of those cool people with effortless style and can throw together some outfits last minute. But for the rest of us mere mortals, skipping the planning step and scrambling the day of, doesn’t always result in the best look but usually adds unnecessarily stress. And who needs that?

Don’t be too casual. While you don’t have to wear your Sunday best, family photos are a special occasion and dressing too casually is discouraged. So, please no athletic wear, or Crocs, Keens, or the like as their bright colors can really stand out and be distracting.

Don’t try a new style. The week before your shoot is probably not the best time to try out a new haircut or makeup for the first time or wait to try on that new look or outfit. These are things to test out well before your session.

Don’t forget to check the forecast. Have an outdoor session? Stay seasonal and check the forecast and plan accordingly.

Don’t forget about your shoes. I tell my clients to keep ‘em cute but comfy.  We’re usually walking and moving around during sessions, so keep that in mind for everyone’s comfort, as well as ladies’ heel type. For the guys, converse, casual loafers, boat shoes, leather sandals, or nice flip flops are all good choices. No need to go too dressy or athletic.

Don’t be afraid to get a little dirty. You never know where your session will take you and sitting on the ground or leaning against a wall or something may make for the best shot, and you don’t want getting a little dirty to get in the way of that, now do you?

My talented friend and photographer, Megan of The Penny Gray Photography Co., recently wrote an excellent post about putting outfits together that y’all should most definitely read before your session, and if you’re in the Washington D.C. area and in need of a fantastic photog, check her out.

And to my clients, if you’re ever stumped and feeling stressed out, I am always here and happy to help.

XO

5 Stress Relieving Tips to Not Have A Breakdown During Your Session by Shana Berenzweig


This post is part of an ongoing series focused on getting you and your family ready for a photo session. Read other installments on the Do’s and Don’ts of What to Wear, 5 Stressing Relieving Tips To Not Have A Breakdown During Your Session, and 3 Things to Help You Get Over Your Fear of Being Photographed, and check back for more soon.


Since my new Pop-Up Portrait Sessions are coming up (psst, have you booked yours yet?), I thought this would be an excellent time to start a series of blog posts to get y’all ready. This is something I’ve wanted to do for a while but, well, haven’t. Hashtag blogging is hard, y’all.

As family photo season fast approaches, I imagine there might be a few of y’all out there that are beginning to feel the first tingles of stress.

Family photos are wonderful for so many reasons. Duh. Not only do they document family growth and milestones, but they help us create fond memories, too. Not just for the parents and the grandparents, but for the children, grandchildren, and generations to come.

Clichéd? Yes. True? Yes.

But, this day can be very stressful, too. I get it.

And I want to do all I can to make sure this experience is as stress-free as possible. Because as many of longtime clients will have heard me say, if y’all are stressed and anxious it will show on your face and in your body language, and your kids will most likely pick up on it, too. We want your photos to be carefree, authentic, and full of love.

So I’ve put together a little list of five tips y’all can use leading up to, and especially on, picture day to help everyone relax.

Is this list also a little clichéd? Probably. Still true and helpful? Probably, and most definitely can’t hurt to try.

1. Take some deep breaths. A common relaxation method, deep breathing can quickly calm your stress level, you can do it anywhere, and is a great place to start when managing anxiety and stress.

Breathe in through your nose and exhale through your mouth, counting slowly down from 10 in your head while letting it all out and taking a deep breath between each number. If you’re still feeling super stressed, repeat the process again.

Another technique to relieve stress and muscle tension is to use your finger to trace a figure eight on the palm of your hand. Or before your session, try some simple stretches or yoga poses to release any tension and stress in your body.

Just because these are simple techniques, doesn’t mean they don’t work.

2. Laugh. Laughter is a great way to release stress and tension. It will also help the whole family relax before the session, as well as results in genuine smiles and interactions during the shoot.

I’m a big fan of the good ol’ fashioned tickle-monster or a good snuggle sesh to get those smiles and relieve a bit of stress.

Still working on your stand-up? Me too. So instead of jokes, for some reason having everyone pretend to laugh feels so ridiculous that everyone ends up actually laughing for reals.

These sorts of things can help to ease the family into relaxation mode before and during the session. It’s also good to remember that every photo doesn’t have to be the traditional everyone-looking-at-the-camera-and-smiling shot. It’s great to have a little variety and capture your kids being kids and reflect your family as perfectly imperfect as they are.

3. Distract Yourself. If someone is being shy, isn’t into taking pictures, is having a meltdown, or in some other way not cooperating* and you can feel your blood pressure rising, I encourage you to take a little break, maybe go for a walk or try busting out some dance moves. This will help alleviate some of your stress and the kids’ excess energy, as well as give us some good interaction shots. Another thing you can do is to simply take a step back and outta frame and let me focus on shooting other members of the family for a little bit.

*I hate to use that word, as well as break it to y’all, but when there are tiny humans involved, these kinds of things tend to happen more often than not. And don’t worry, it is TOTALLY NORMAL. I promise. So please, pretty please, don’t be embarrassed, anxious, or stressed. I get it and have seen it all.

Ahead of your your session, it may help to think of a short game that your family enjoys and can help relieve stress and loosen everyone up – it could be something as simple and silly as duck, duck, goose, or dancing to head, shoulders, knees, and toes, etc. Don’t overthink it and don’t worry if you don’t think of anything.

Still stressed? Try the old technique of going to your ‘happy place’ and try to take yourself out of the present situation and let your mind wander. 

4. Lots of XOXOs. It seems too easy and obvious, right? But not only will these make for the sweetest shots, hugs are another excellent stress reliever.

And so are kisses.

So gather your crew up in a big group hug or give your sweetie a kiss and I bet y’all feel some of those worries melt away.

If you’ve worked with me before, you know I’m a big fan of everyone touching and loving on each other. Not only do we get gorgeous images that reflect your family’s love, but it just feels good and helps everyone relax.

5. Let it go. One of the biggest stress relievers, but hardest to do, will be to try to relax and just let me take the lead.

So try really hard to keep the following in mind.

Don’t ask anyone to smile.

Don’t fix anyone’s hair.

Don’t point at the camera.

Just be, relax, love on your people, and let me do the rest.

Trust my process, hand the reins over to me, take a break from the rules, and just have some fun with your kiddos. Let it all go. I plan on covering this in more depth in another post soon, so hold tight.

So there y’all have it. Take ‘em or leave ‘em. But as my momma always says, it never hurts to try. And above all, please remember that I’ll be doing everything I can to help y’all relax and have a great time during our shoot.

I’ll be back soon with more good stuff to help y’all get ready for your close-up’s, including tips on what to wear and the eternal question of whether ‘to bribe or not to bride’ your kids.

XO